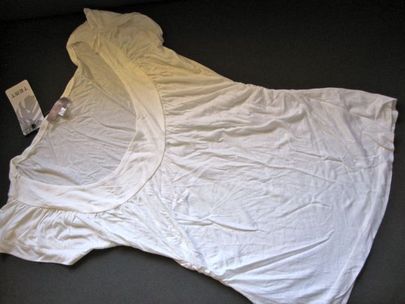
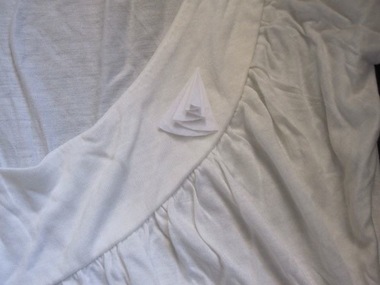
Yesterday I went shopping with Brenda who is visiting from Mexico. I noticed a top with some flowery kind of things made from very thin fabric that looked easy to make. I bought a cheap top a few years (yes, years) ago that I had intended to fancy up, and have never gotten around to it or decided on what I actually wanted to do with it. Here is said top which has been living in a crumpled heap in the sewing cupboard...
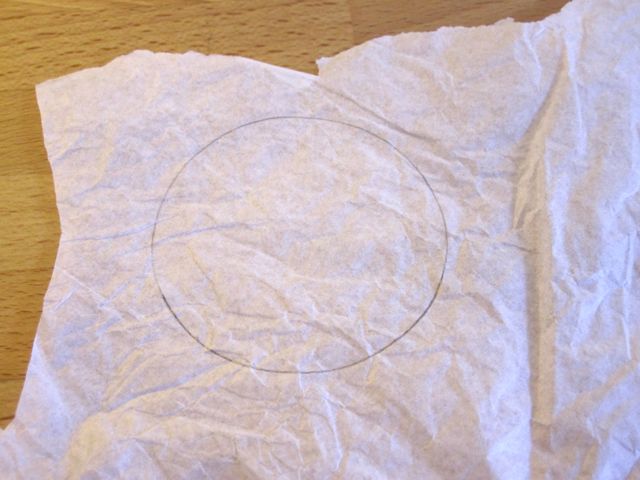
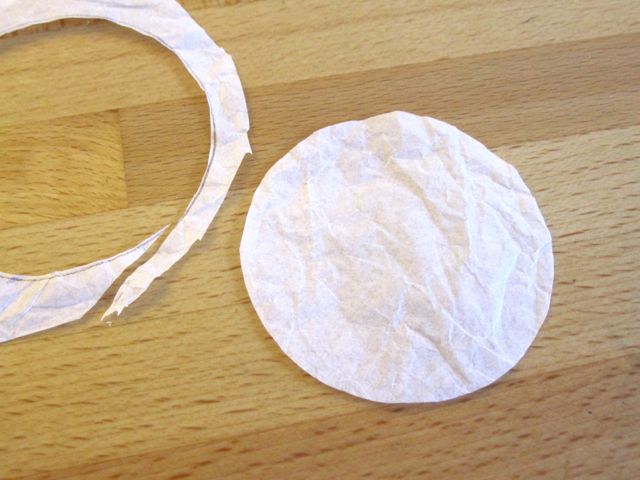
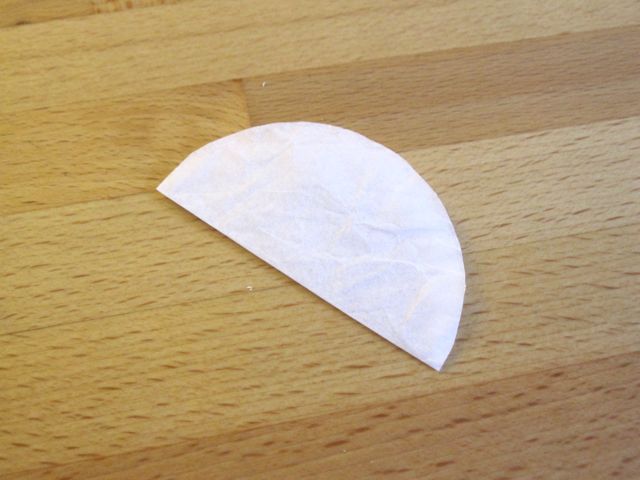
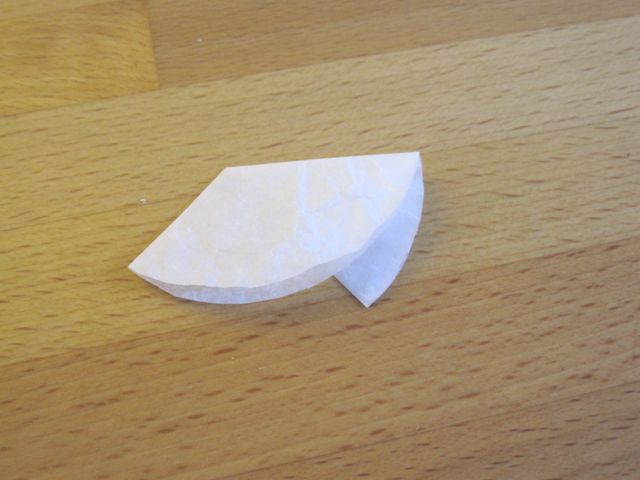
So this morning I tried making some of the flower things with tissue paper as a test. First trace a circle and then cut it out. Fold it in half.
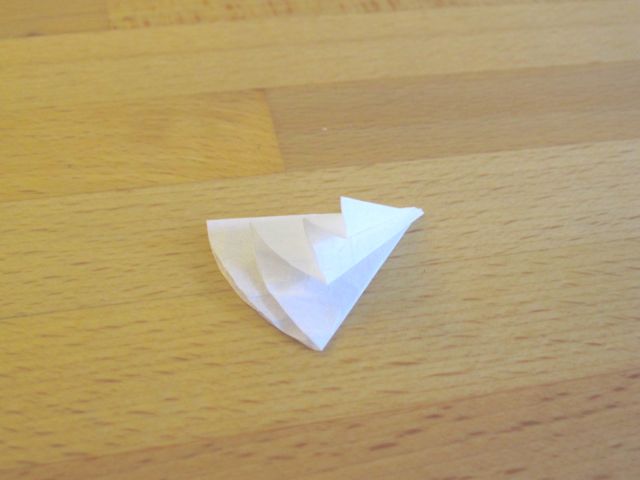
Then you need to choose a point slightly above the centre of the fold line to be the point for the pointy end of the flower. Fold one side across the other, as pictured, so that the bottom part is a little less than a quarter of the diameter of the original circle. Then keep folding back and forth with the size getting smaller each time.
Mum and dad are coming to visit in a few days so I'm hoping I can go with mum and get some fabric to use on Saturday if they're still here then. What colour do you think would look good? The shirt is on the cream side of white. I think I'll make a number of the flowers and have them scattered down one side. I will be sure to show you the finished product - good, bad or otherwise!
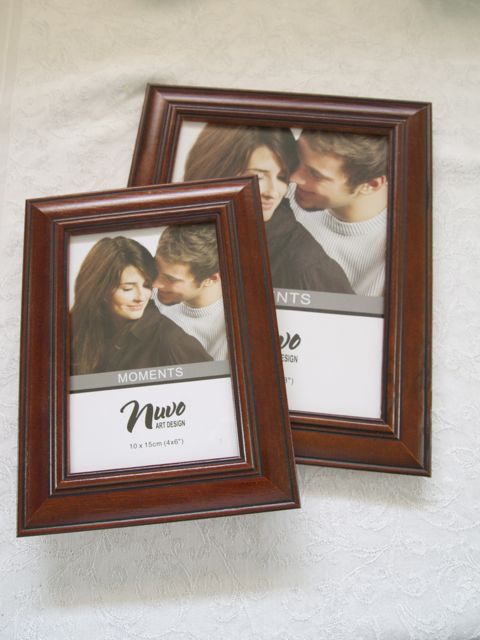
I just love all the shabby stuff that is floating around the internet these days and the great thing about shabby is you can pretty easily do it yourself. With just a few supplies (which you may already own) you can transform a store bought wooden frame from
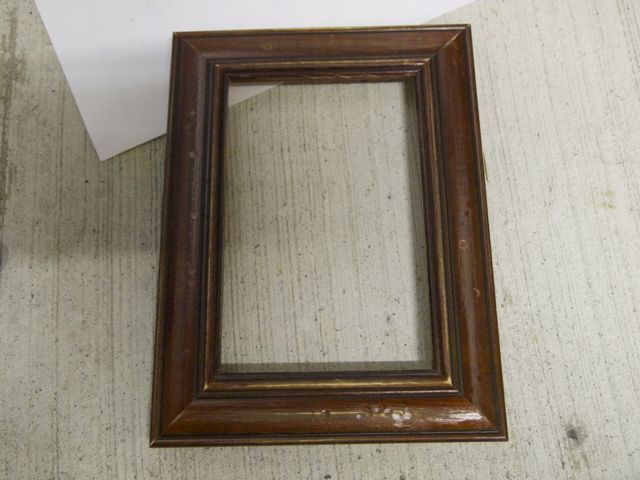
You need a frame, sandpaper, paint (I used two colours of water-based interior house paint) and a few tools of your choice.
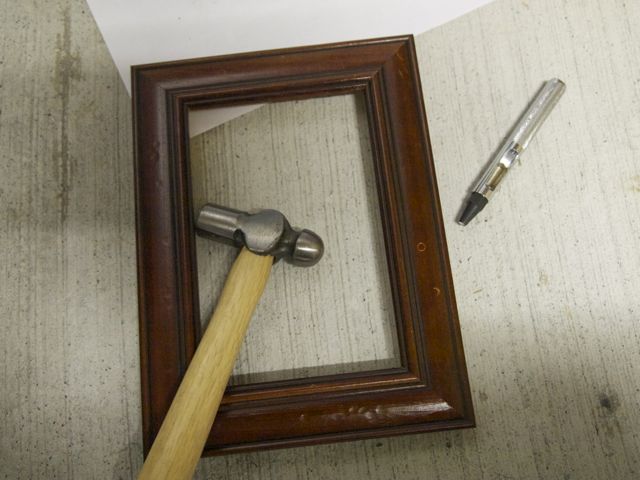
First step is to remove the glass and backing. You're going to distress it and you don't want your glass breaking or even worse causing injury to yourself. Take a hammer or screwdriver or both (or other) and give it a bit of a whack in a few places. I used a craft hammer and also my eyelet hole punching tool which left some cool little circle marks but you could really use whatever you have handy. (The distressing marks weren't hugely noticeable on the finished product because the paint I used was quite thick so I'd probably give it a little more next time). You could always leave out the distressing step if you want to.
Then give it a light sand - you don't want the lovely stain colour to come off, just make it a little rough to help the paint stick. Next paint on your first layer of paint and leave to dry. I used a paler colour first but you could just use the same colour for both layers.
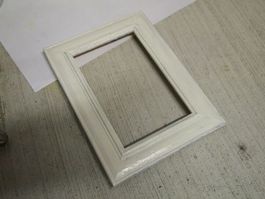
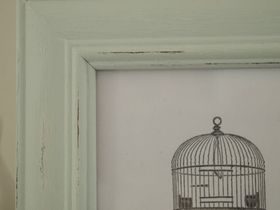
| | Once dry, apply a second layer of paint (I used a lovely minty colour) and allow that to dry.
And now for the most fun part! Get your sandpaper and lightly rub a few patches of the frame, mostly edges is best but just experiment and see what you like.
|
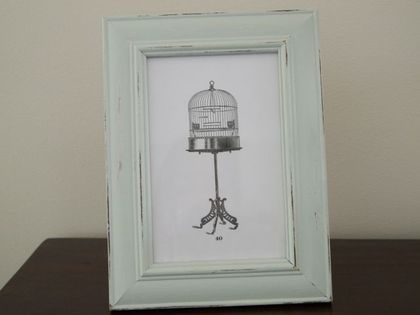
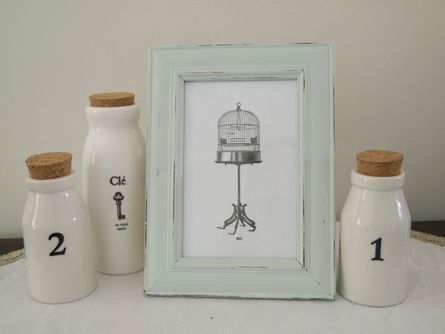
Reassemble with whatever photo or picture you want in there and you're all done! The pic I used is from the Graphics Fairy printed on white card. | |
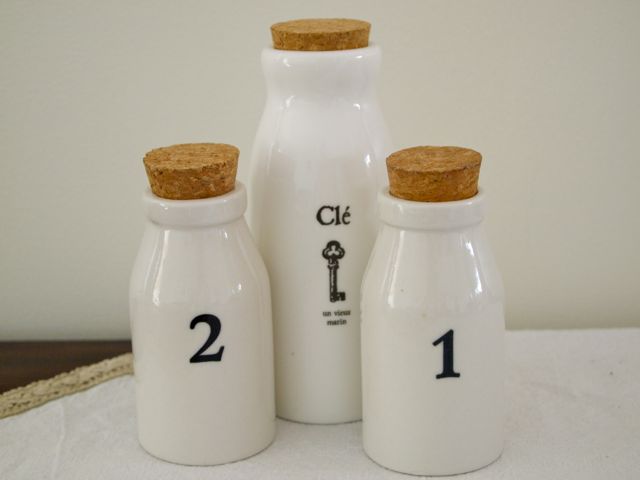
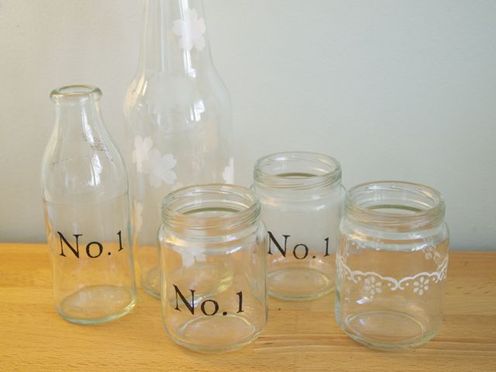
Inspired by these cute bottles I bought in Beijing, I came up with something to do with the jars and bottles I've been hoarding on my desk.
Here's how to do it.
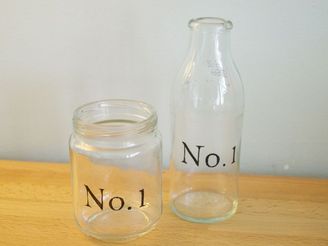
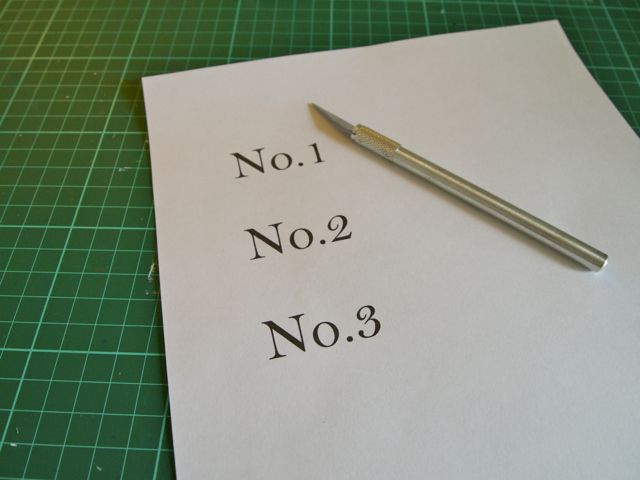
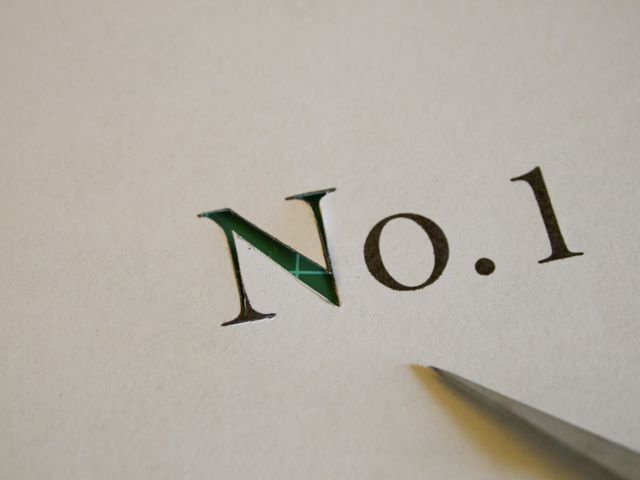
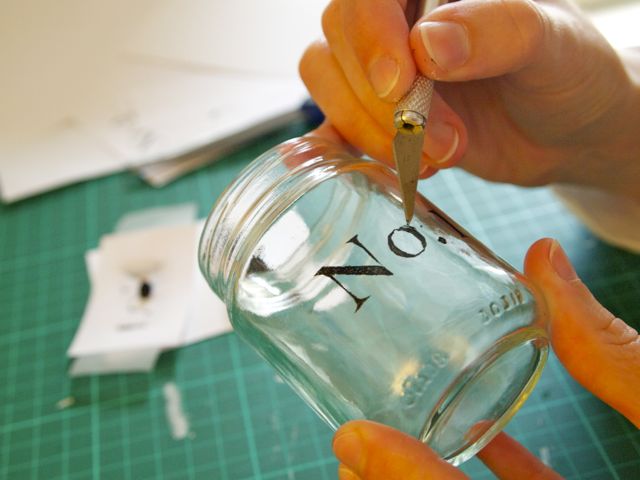
Print out a simple design - I typed mine with a font called Bell MT, size 100. Carefully cut the black part out of your paper with a craft knife on a cutting matt, leaving you with a template. Alternatively, you can use a craft punch to make templates without having to cut them yourself. Trim the template and tape it to your clean jar or bottle. Remember you'll also have to stick in the 'inside' of the 'o' if you choose the pattern I did.
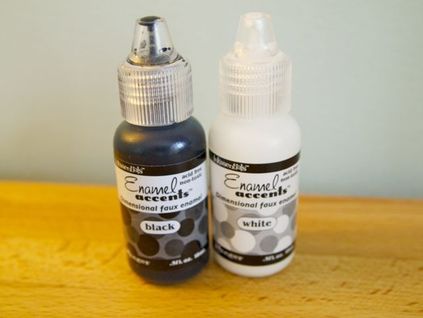
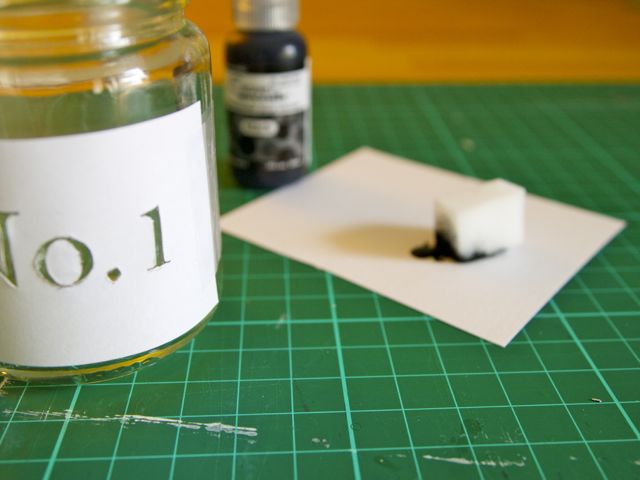
For the next part I used a product called Enamel Accents which cost me about $9 for a pack of black and white enamel. You also need a fine sponge - makeup sponge would be fine but I didn't have one so I cut a piece of magic eraser.
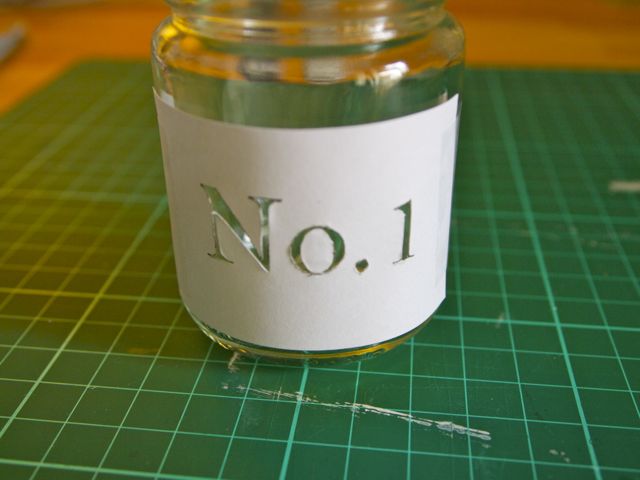
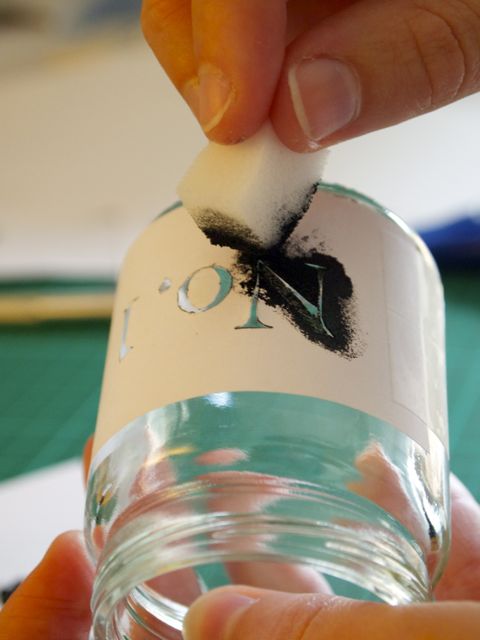
Put a spot of enamel (very small amount as enamel will dry quickly) on a scrap of cardboard, dab your sponge in and then dab it on the scrap so it isn't a thick blob, you just need a little. Then dab your sponge over the template - don't wipe, only dab! If you wipe, or if there is too much ink on the sponge it'll bleed under the template. If this happens you do have a chance to fix it when it's dry so don't panic.
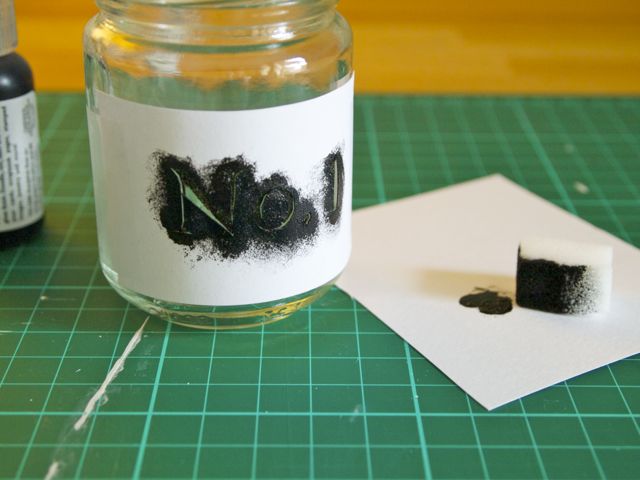
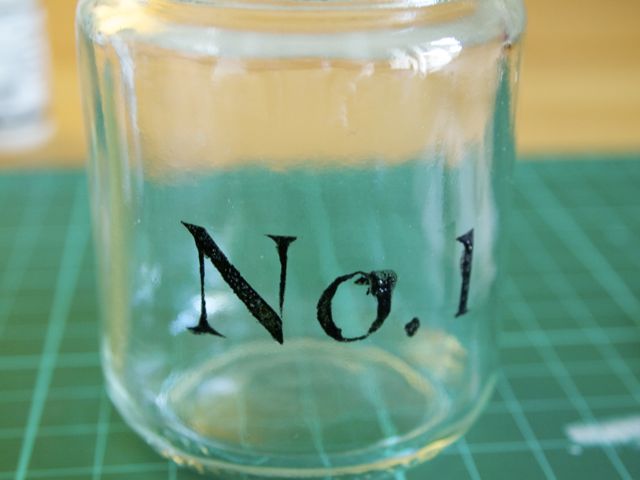
Leave the template for a few minutes until the enamel is dry (resist the temptation to peek or you might smudge it). You might even want to sponge it again with more enamel to ensure a darker pattern.
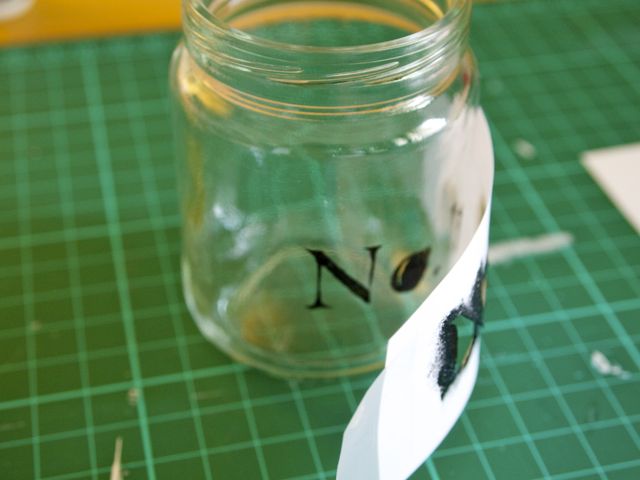
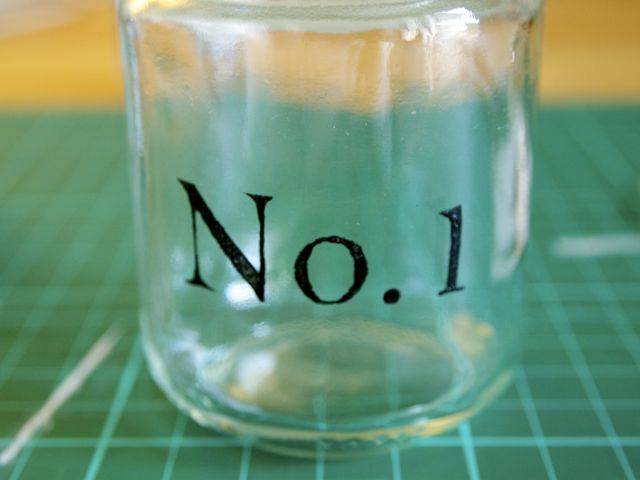
When dry, carefully pull back the paper. If your design is not quite perfect you can carefully scratch away any mistakes with your craft knife and fill in any holes with enamel using a toothpick. If you're completely unhappy with it, just scratch it off and go again.
Once you've done one you won't want to stop! You may be able to use your template more than once so don't throw it out!
 RSS Feed