This was the cake I made for Karen's birthday. Unfortunately the lighting isn't great in these next photos so the colours aren't completely accurate...

Conveniently, I had just seen a picture of tiny teapots on Sweetopia so I had a great reference to copy from, although her's are much better than mine! Those handles sure are a pain to make!
 
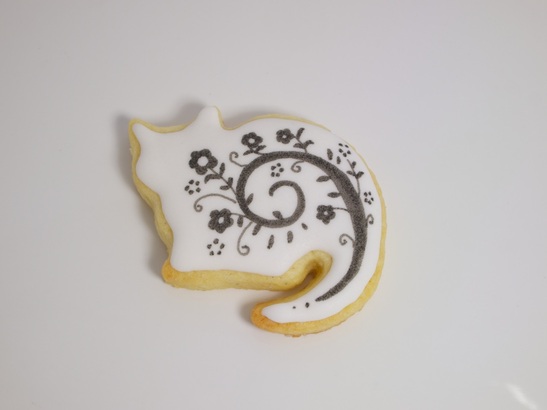
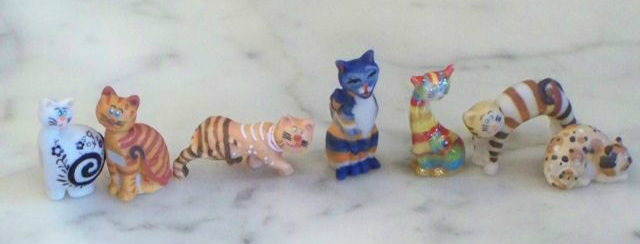
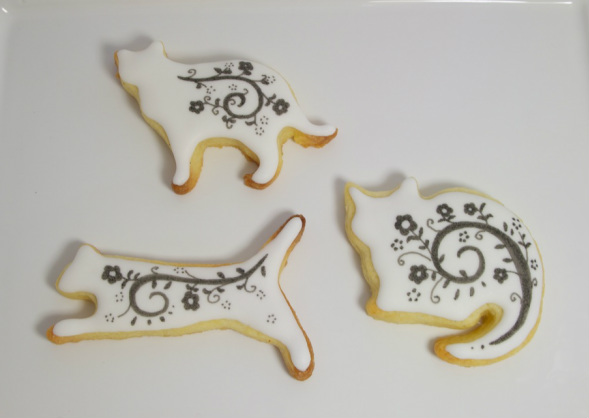
I have a set of 5 cat cookie cutters (you probably remember one from a previous post).
My inspiration for this design came from a set of cat favours (for galettes) that I'd seen in France years ago.
You can see that my design is taken from the one on the far left.

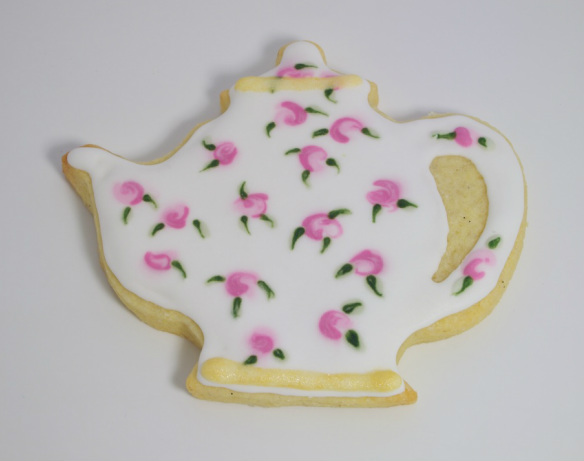
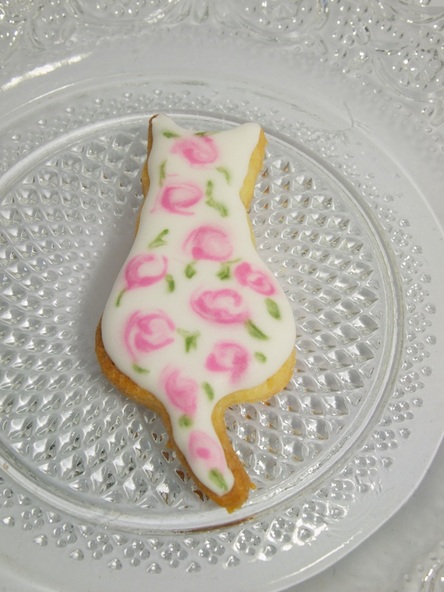
I iced these with white royal icing and then let them dry hard overnight. Then I used my edible food pen to draw the patterns.
 
I've been so inspired to try my hand at cookie decorating again since discovering Sweet Ambs and her tutorials (look for the free videos on Youtube). It's been ages since I did any cookies - a whole year I think! Yesterday I made up a batch of cookies and did some experimental icing.

The sad part about experimental icing is that I usually only end up with one good one out of a whole batch. It seems like a lot of work for little gain, but I do need to remember that I learn a lot when I do it.
This is one technique that I really wanted to try. It's called 'wet on wet'. Sweet Ambs has a great video to show you how. Her cookies are just BEAUTIFUL.

Here's what I learnt:
1. Mix up all your colours first and have them ready in the piping bags. Even if you're doing shades of the same colour, you need to have them in separate bags and ready to go.
2. Completely finish one cookie before you start the next. Otherwise the base icing will start to dry and you won't be able to swirl it nicely. (This is why you need to have all of your colours/shades in bags).
3. Have a nice fine piping tip for all of the parts but especially the raised lines (as you can see mine is big and ugly, I think it was a size 3).
4. For the gold, which is gold powder mixed with a drop of vodka and painted on, use a similar colour to gold to pipe the line (mine is white and the result looks a little insipid).

So out of the 5 or so teapots plus teacups I ended up with one that looked passable, but I learned a lot and will know what to do when I want to make them for real.

I also tried this out on one of my cat shaped cookies and I think I may like it even more than the teapot. What do you think?
 
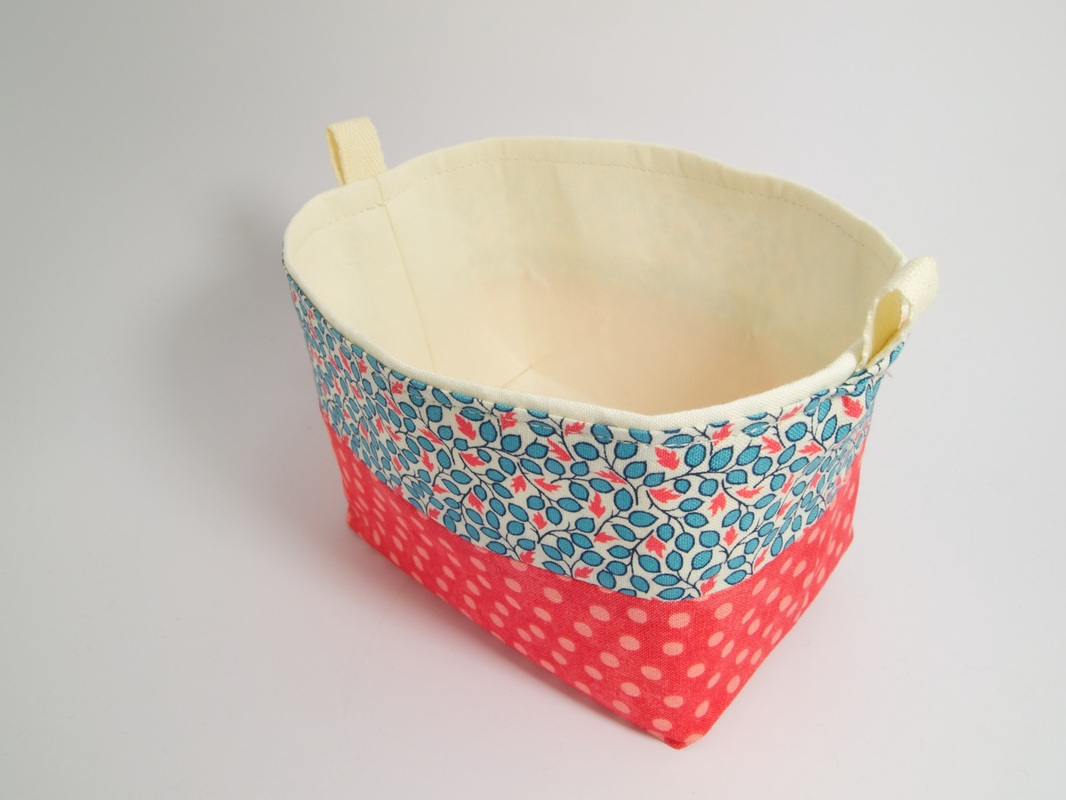
A few weeks ago I had totally lost the sewing bug. I had too many projects going at once and wasn't really excited about any of them. One afternoon I got out all of my patchwork stuff and then didn't feel like doing any of it. I had lost my sew-jo.

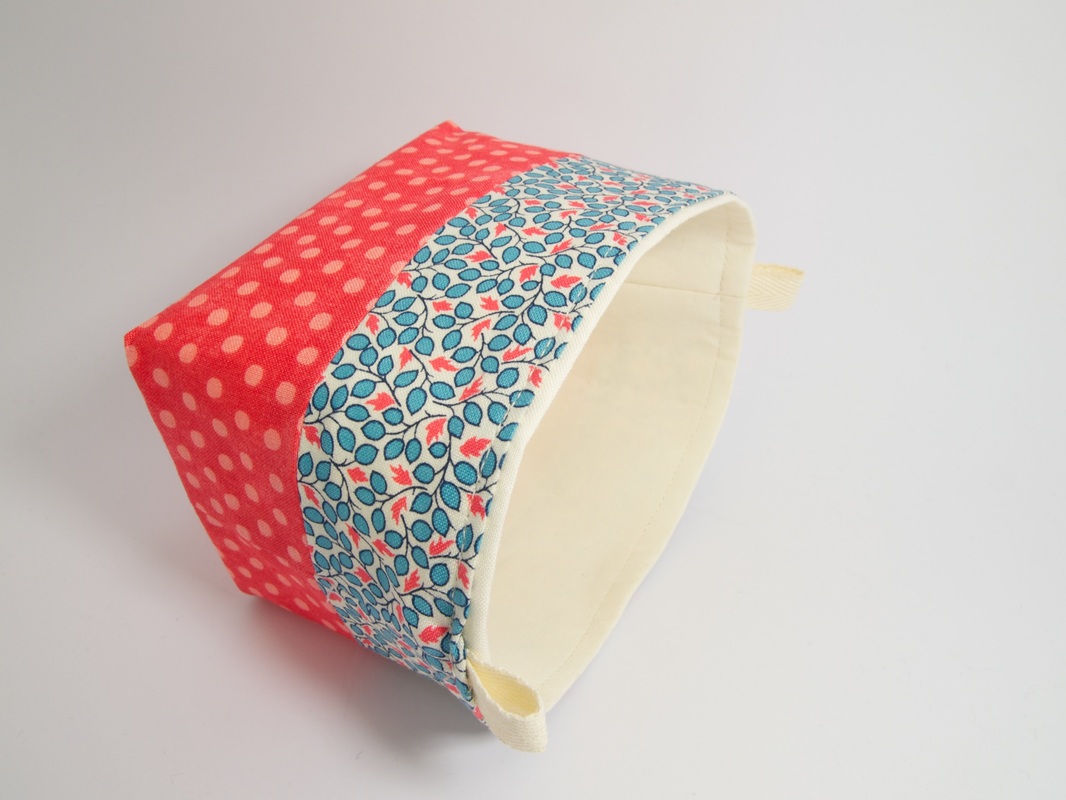
Then one day I did something that I'd been telling myself not to do... I started another project.
It didn't take long and I was pretty happy with the little basket I made. I enjoyed making it so much that I then started making a new handbag with some heavy fabric I brought home from the US. I've almost finished but need to go out and buy a magnetic clasp before I can sew up the opening.

So it turned out that starting something new was the best thing I could have done and I'm now planning to do lots of other little and quick projects without feeling guilty. Here is the link to the tutorial if you want to make one. I used a very stiff interfacing so it's quite sturdy. It's smaller than I had imagined, but you could pretty easily change the dimensions once you've made one and are familiar with it.