Yesterday I went shopping with Brenda who is visiting from Mexico. I noticed a top with some flowery kind of things made from very thin fabric that looked easy to make. I bought a cheap top a few years (yes, years) ago that I had intended to fancy up, and have never gotten around to it or decided on what I actually wanted to do with it. Here is said top which has been living in a crumpled heap in the sewing cupboard...
So this morning I tried making some of the flower things with tissue paper as a test. First trace a circle and then cut it out. Fold it in half.
Then you need to choose a point slightly above the centre of the fold line to be the point for the pointy end of the flower. Fold one side across the other, as pictured, so that the bottom part is a little less than a quarter of the diameter of the original circle. Then keep folding back and forth with the size getting smaller each time.
Mum and dad are coming to visit in a few days so I'm hoping I can go with mum and get some fabric to use on Saturday if they're still here then. What colour do you think would look good? The shirt is on the cream side of white. I think I'll make a number of the flowers and have them scattered down one side. I will be sure to show you the finished product - good, bad or otherwise! 
 
Being back at work is exhausting. On top of that Benny is away so I have no-one to cook dinner for me at night :( and I'm on my own with the housework too. I've also had heaps of orders from my Etsy and Madeit stores (of course this has to happen when I'm working and not when I'm home doing nothing) and that's about all the craft I've had time to do.

But this morning I thought I'd try a quick (2 minute or less?) craft with minimal supplies.

I know this idea has been around for a while but I haven't gotten around to trying it until this morning. I bought a few pairs of post earring parts a few weeks ago - they were in a pack of 2 pairs for $2.20 but you can probably get them cheaper if you shop around and buy a larger quantity. You also need a pair of buttons or something similar and some super glue (the best thing ever).
Glue the post to the back of the button. Wait a bit for the glue to dry. Done.
I could make so many of these... 
 
Happy Mother's Day to all the mums out there. We celebrated at my sister-in-law's with an afternoon High Tea Party, guests of honour being Linda, Karen, Katy and Nanny. Check out the treats I made...
I used Vienna cream (buttercream) icing, fondant icing for the hearts and flowers, free printable flags from here and here, and I made the lacy wrappers by cutting and gluing paper doilies. By the way, those pink rose looking ones are so easy to make once you've seen this 20 second video! We decided mini cupcakes would be best for this occasion so that we could eat a few and still fit in all the other yummy treats on the table.

These are the cookies Katy and I made in advance - forgot to take a pic today but here's one from when we made them.
I also made macarons, Karen cooked up some good old party pies, sausage rolls and mini quiches, and Katy brought some awesome sandwiches. She makes the best sandwiches, mine never taste as good! The sandwich of the day for me was chicken, almond, cucumber and cheese. So yummy, thanks Katy!
Hope everyone had a great day!
 
I just love all the shabby stuff that is floating around the internet these days and the great thing about shabby is you can pretty easily do it yourself. With just a few supplies (which you may already own) you can transform a store bought wooden frame from

this...

...to this!

You need a frame, sandpaper, paint (I used two colours of water-based interior house paint) and a few tools of your choice.

First step is to remove the glass and backing. You're going to distress it and you don't want your glass breaking or even worse causing injury to yourself. Take a hammer or screwdriver or both (or other) and give it a bit of a whack in a few places. I used a craft hammer and also my eyelet hole punching tool which left some cool little circle marks but you could really use whatever you have handy. (The distressing marks weren't hugely noticeable on the finished product because the paint I used was quite thick so I'd probably give it a little more next time). You could always leave out the distressing step if you want to.
Then give it a light sand - you don't want the lovely stain colour to come off, just make it a little rough to help the paint stick. Next paint on your first layer of paint and leave to dry. I used a paler colour first but you could just use the same colour for both layers. 
Once dry, apply a second layer of paint (I used a lovely minty colour) and allow that to dry.

And now for the most fun part! Get your sandpaper and lightly rub a few patches of the frame, mostly edges is best but just experiment and see what you like.


Reassemble with whatever photo or picture you want in there and you're all done!

The pic I used is from the Graphics Fairy printed on white card.
 
I've been quiet on the blog, I know. I've been pretty busy the last two weeks - got called in to do some supply teaching a few times and getting myself prepared for my 3 week teaching contract that starts on Monday. I was also in a 'madeit' newsletter so got a few orders for my herb markers (yay!). But, I have managed to squeeze in a few little projects and I have a few that I prepared earlier so stay tuned.

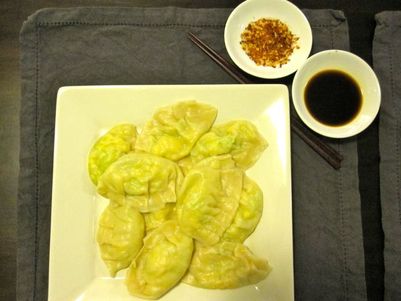
Here is a post about making Jiaozi (or dumplings) which we did for dinner the other night. I wish I had better photos for you but unfortunately in the evening the lack of natural light makes it really hard to take good ones.

In Beijing, we had a food court in the basement of our apartment building and one of the vendors made awesome dumplings. My favourite filling there was egg and zucchini so we decided we wanted to try making them ourselves.

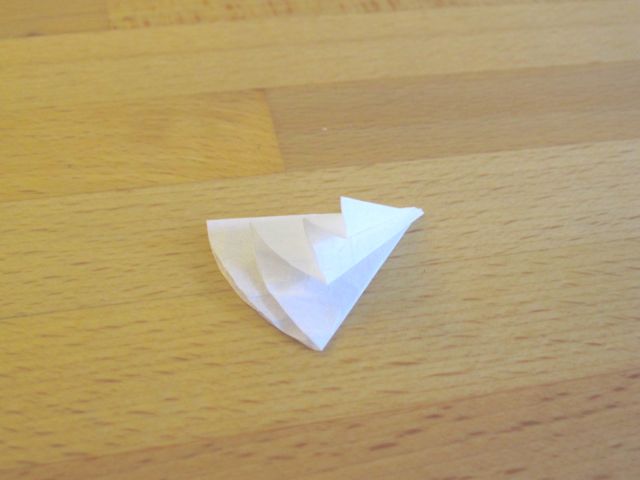
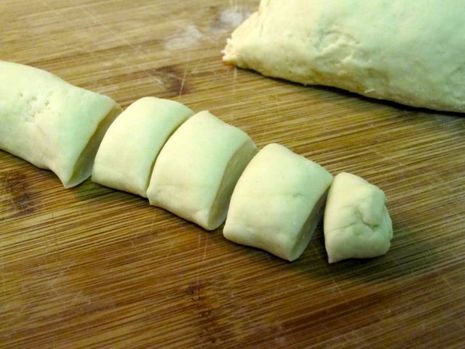
I've made dumplings before with store bought wrappers but, as we didn't want to go on a mission to an Asian grocery store, we just made them. Basically the wrappers are just flour and water. You just add water slowly as you mix until you have a doughy consistency, knead it for a bit and roll a sausage shape which you then cut into pieces as shown.
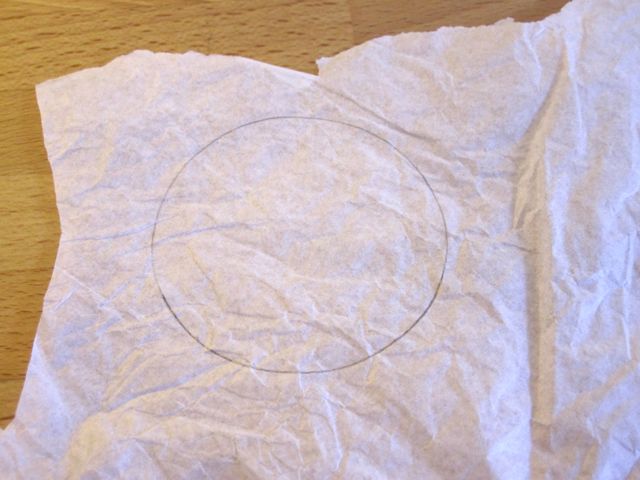
Placing the cut side of the dough down on a floured surface, use a rolling pin to roll them out into a flat, circular shape.
Now for the fillings. Fillings are easy and you can use any combination of meat/vegetables etc.

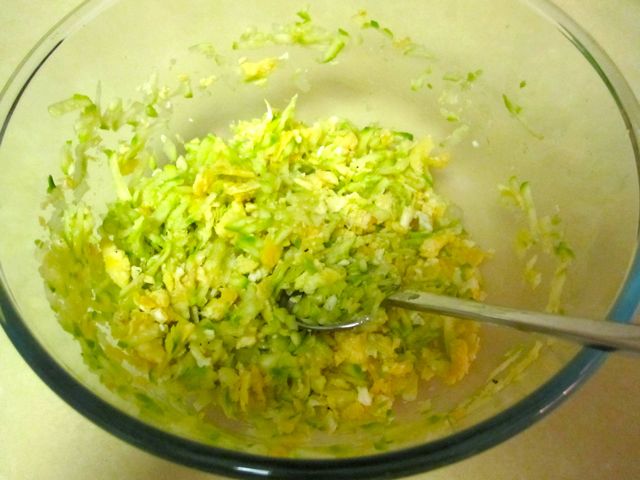
For the egg and zucchini I just grated the zucchini and squeezed some of the water out with paper towel. I salted and scrambled the eggs, and chopped it into tiny pieces with the egg flip when it was nearly done. Then I mixed it together with the zucchini and seasoned it with some salt, pepper and sesame oil. 

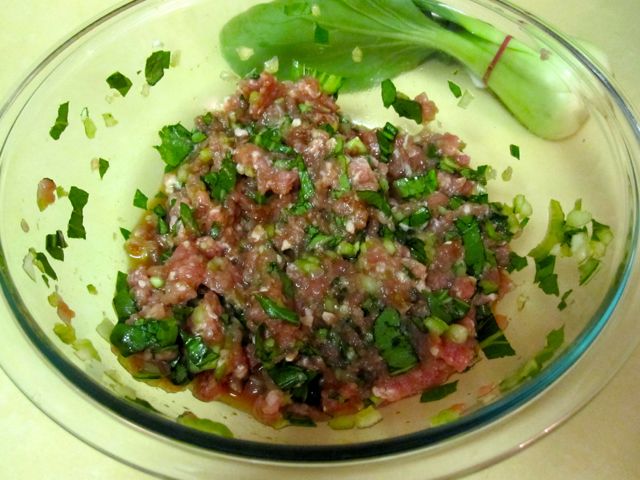
For the pork and greens filling I finely chopped some pak choy (but you could use whatever Asian greens you like) and mixed it with the raw mince along with these seasonings: salt, sesame oil, soy sauce, ginger (okay, so we didn't have ginger, but I would have used it if we did!).
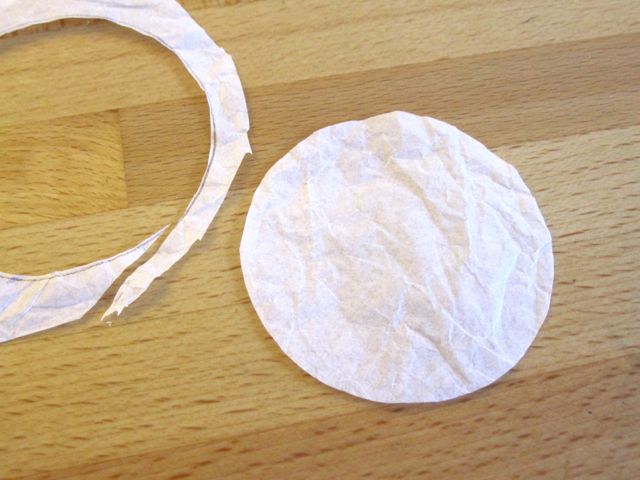
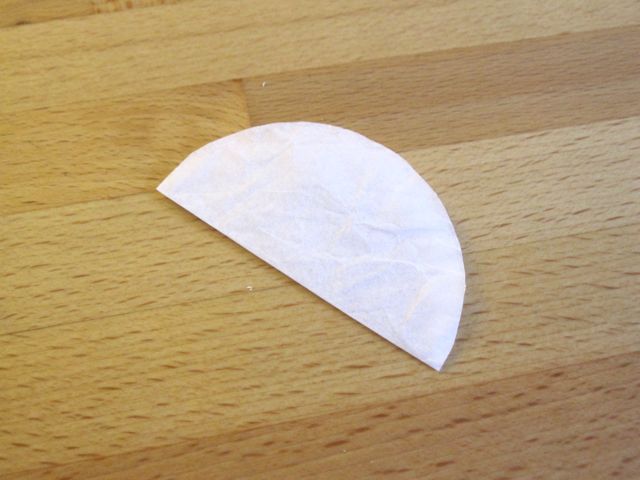
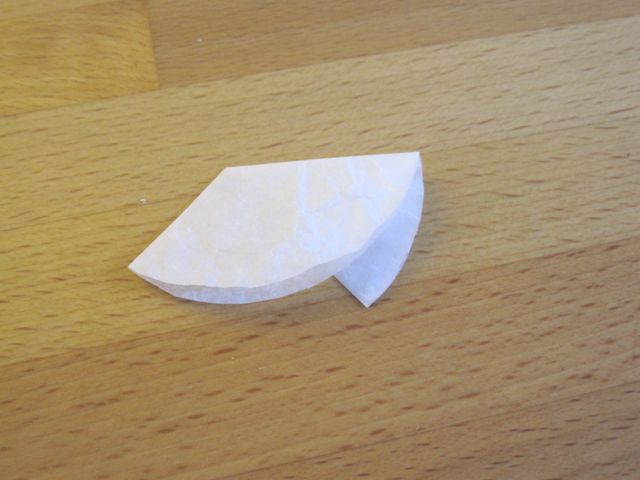
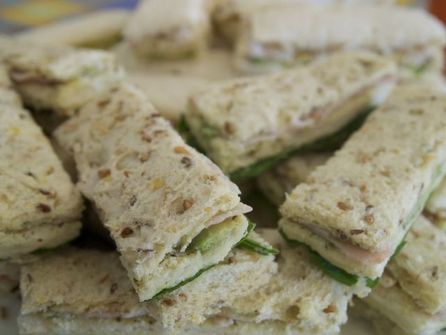
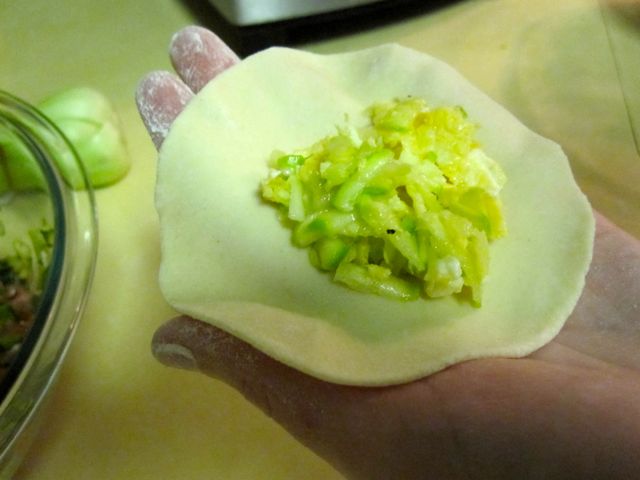
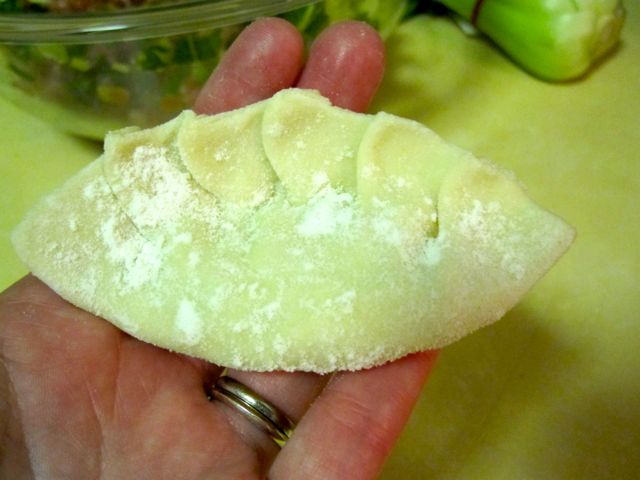
To assemble, place a small amount of your filling mixture in the centre of the dough wrapper, dip your finger in water and wipe it halfway around the edge of the wrapper, fold in half and pinch it closed (the water will help it stick). Then make folds in the edge by slightly overlapping and pinching the dough.
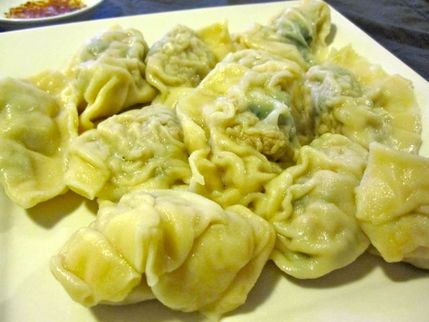
Then add them to a saucepan of boiling water and boil for 5 to 10 minutes, checking to see if the dough is cooked. Serve with a little dish of Chinese vinegar or chilli oil (or both). 
If you're planning to try this and haven't made dumplings before, here are some tips for beginners (aka 'learn from my mistakes'):
1. The pork filling was very wet and if the mixture touched the edge of the dumpling it was very hard to get it to seal. Make your wrappers a little bigger for the first few to make it easier until you get the hang of it.
2. As you make your dumplings place them on a floured surface so that they are not touching. If it's quite a dry mixture this is not so important, you can just flour them, but a wet mixture - even floured - makes them very hard or impossible to separate without tearing.
 
Inspired by these cute bottles I bought in Beijing, I came up with something to do with the jars and bottles I've been hoarding on my desk.
Here's how to do it.

Print out a simple design - I typed mine with a font called Bell MT, size 100. Carefully cut the black part out of your paper with a craft knife on a cutting matt, leaving you with a template. Alternatively, you can use a craft punch to make templates without having to cut them yourself. Trim the template and tape it to your clean jar or bottle. Remember you'll also have to stick in the 'inside' of the 'o' if you choose the pattern I did.
For the next part I used a product called Enamel Accents which cost me about $9 for a pack of black and white enamel. You also need a fine sponge - makeup sponge would be fine but I didn't have one so I cut a piece of magic eraser.
Put a spot of enamel (very small amount as enamel will dry quickly) on a scrap of cardboard, dab your sponge in and then dab it on the scrap so it isn't a thick blob, you just need a little. Then dab your sponge over the template - don't wipe, only dab! If you wipe, or if there is too much ink on the sponge it'll bleed under the template. If this happens you do have a chance to fix it when it's dry so don't panic. 
Leave the template for a few minutes until the enamel is dry (resist the temptation to peek or you might smudge it). You might even want to sponge it again with more enamel to ensure a darker pattern.

When dry, carefully pull back the paper. If your design is not quite perfect you can carefully scratch away any mistakes with your craft knife and fill in any holes with enamel using a toothpick. If you're completely unhappy with it, just scratch it off and go again.
Once you've done one you won't want to stop! You may be able to use your template more than once so don't throw it out!