The lead up to Christmas has been busy! Before Christmas we went down to visit the rest of my family in my hometown - my sister has broken her ankle and so she and her hubby and 4 month old baby are staying down there so my parents can help out.
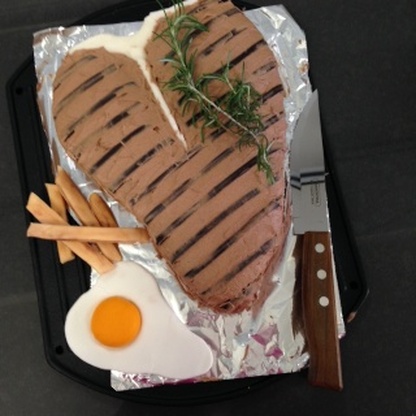
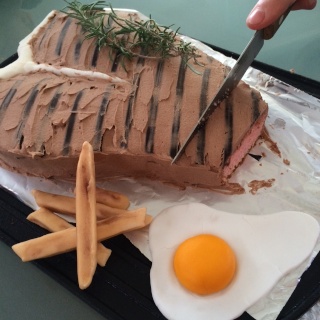
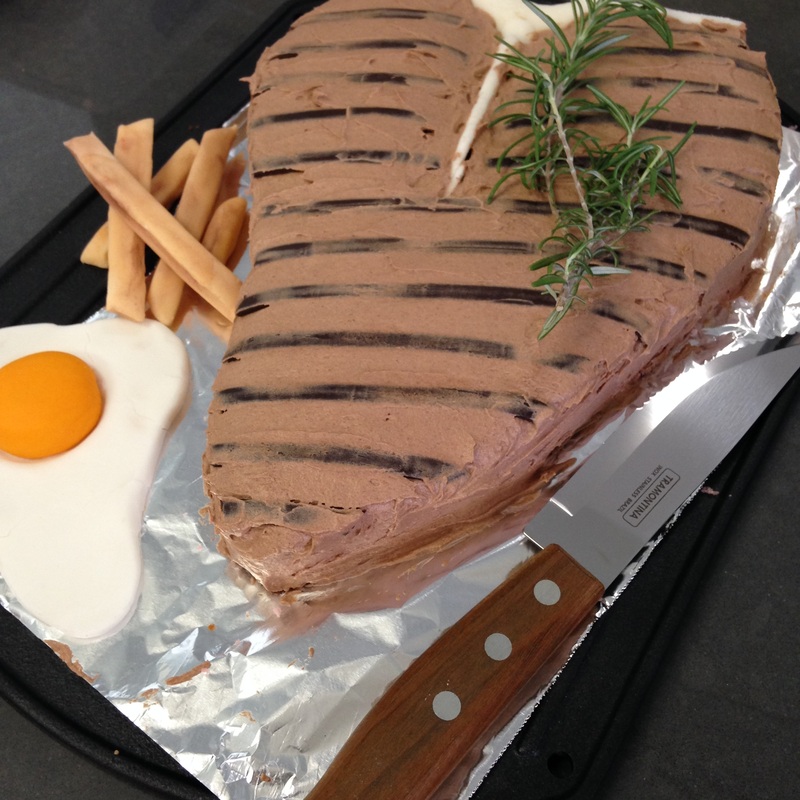
Then we came back up to Brisbane and I flew straight into cake-mode, making this T-bone steak cake for my father-in-law whose birthday was on Christmas eve.
| Here's a quick run down of how I made it -
* The bone is sugar paste with no colouring. I shaped it by hand and then used a fondant cutter to cut the semicircle from the top.
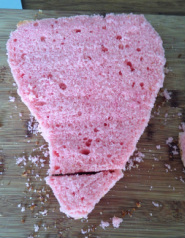
* The cake is a plain butter cake with some pink food colouring (to look medium-rare), levelled and cut into the steak shape.
* The chips and egg are sugar paste. I also dusted the chips with some brown edible powder (Wilton brand).
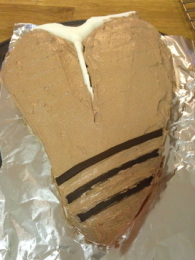
* I iced the cake with chocolate buttercream.
* I rolled out some chocolate fondant and used the Wilton ribbon cutter to cut some even quarter inch strips for the grill marks. I gently pressed a cake cooling rack onto the top of the cake so that the grill marks would be evenly spaced. Then I lay the strips over the marks and used scissors to snip them to the right length. After that I smoothed buttercream over the grill marks to make them blend in and look more realistic.
* The rosemary and the knife are real. The cake is sitting on the barbecue breakfast plate that we gave Ron for his birthday.
This cake was definitely a challenge but who doesn't love one of those!
| |
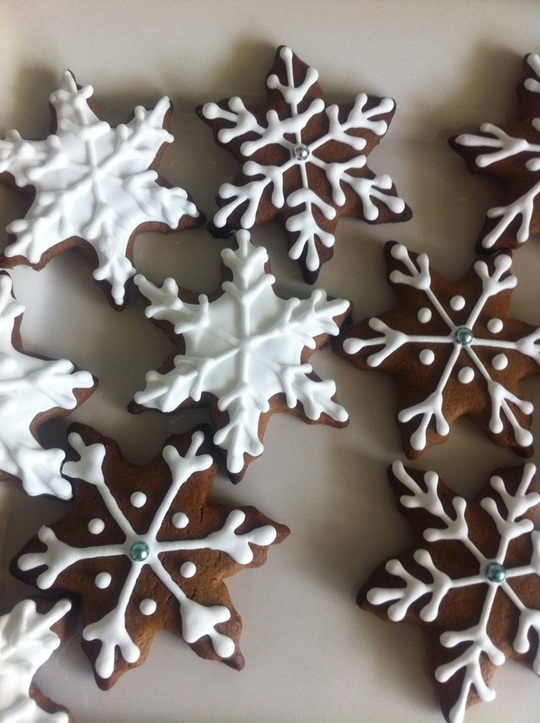
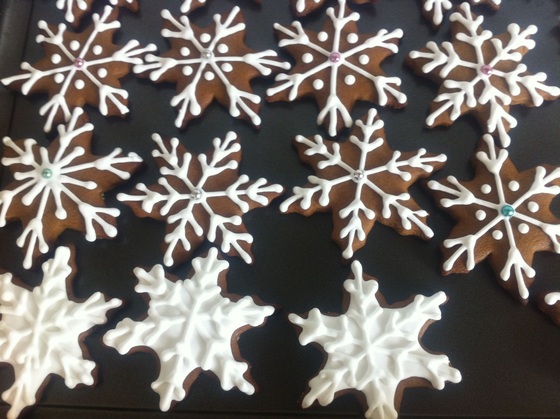
It's now only just over 6 weeks until Christmas and I bet you're all starting to think about Christmassy things, so I'd like to share with you last year's Christmas gingerbread cookies that I made and never got around to putting up here.
I remember that I made an enormous batch of these and slaved over them for a whole day. I left them on the kitchen bench for the icing to harden. On that same day, Ben accidentally knocked over a glass in the kitchen and it smashed on the bench top (not even on the floor - the bench top! Who does that!?), scattering glass everywhere - including over my precious cookies that I'd put so much effort into...
As you can imagine, I was pretty upset about it and poor Ben felt terrible. We went over them very carefully and removed any glass that we could find, (fortunately there wasn't much) and we still ate them :) Oh, how I love gingerbread!
Now that I've had time to recover from this awful chain of events, I'm glad to be sharing it with you!
Here is my gingerbread recipe. I found it years ago in a magazine (probably Woman's Weekly or something) and it's great for hard cookies you want to decorate (as opposed to the soft, chewy ones which spread a lot).
Gingerbread Recipe
Ingredients
125g butter
1/2 cup firmly packed brown sugar
1/2 cup treacle
1 egg yolk
2 1/2 cups plain flour
1 Tbsp ground ginger
1 tsp mixed spice
1 tsp bicarbonate of soda (baking soda)
Icing
2 egg whites
3 cups icing sugar (confectioner's sugar)
Method
1. Heat oven.
2. Beat butter and sugar until light and fluffy.
3. Beat in treacle and egg yolk.
4. Stir in sifted dry ingredients.
5. Knead dough until smooth. Cover and refrigerate for 30 minutes.
6. Roll dough between 2 sheets of baking paper to 4mm. Cut shapes.
7. Bake 10 minutes or until browned at 180 degrees Celsius.
Icing
1. Beat egg whites until small peaks form.
2. Gradually add sifted icing sugar, beating well each time.
3. Add food dye to colour.
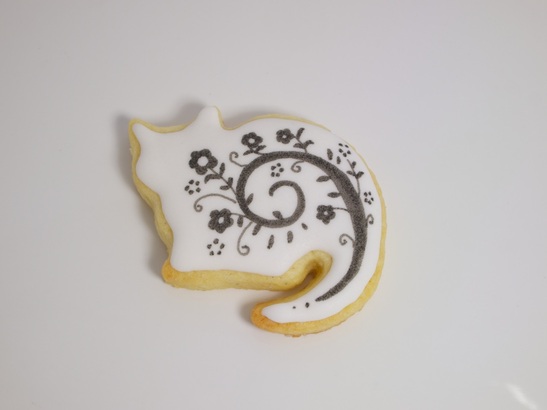
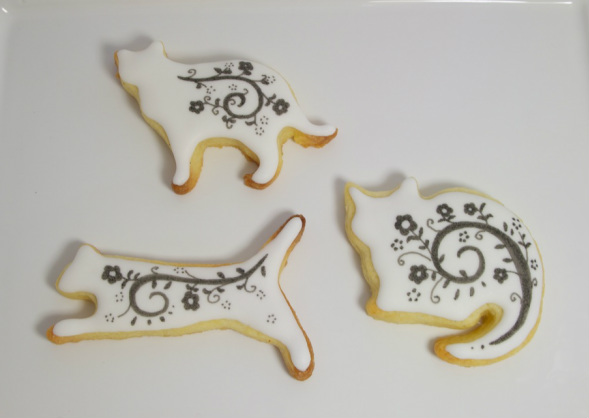
I have a set of 5 cat cookie cutters (you probably remember one from a previous post).
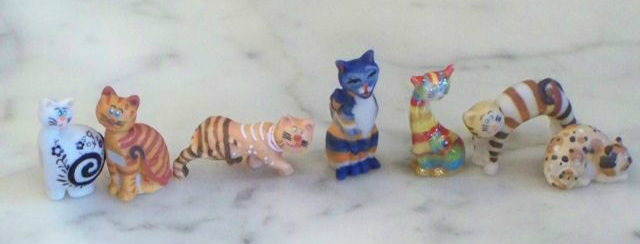
My inspiration for this design came from a set of cat favours (for galettes) that I'd seen in France years ago.
You can see that my design is taken from the one on the far left.
I iced these with white royal icing and then let them dry hard overnight. Then I used my edible food pen to draw the patterns.
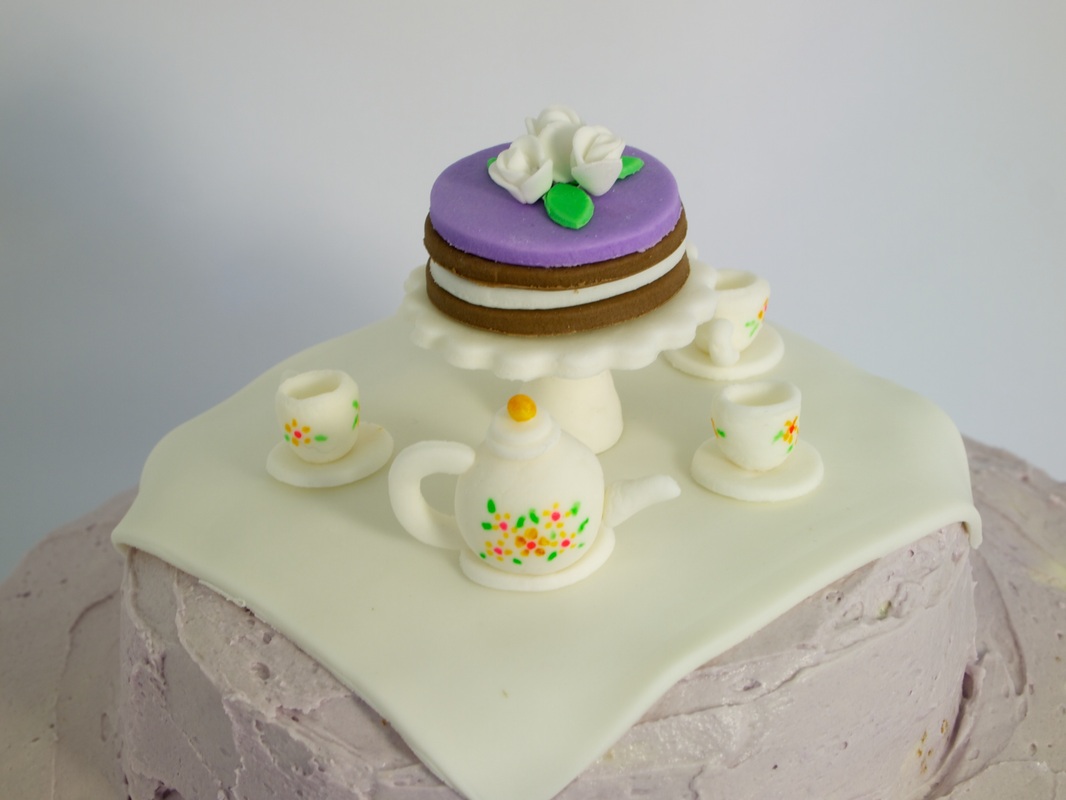
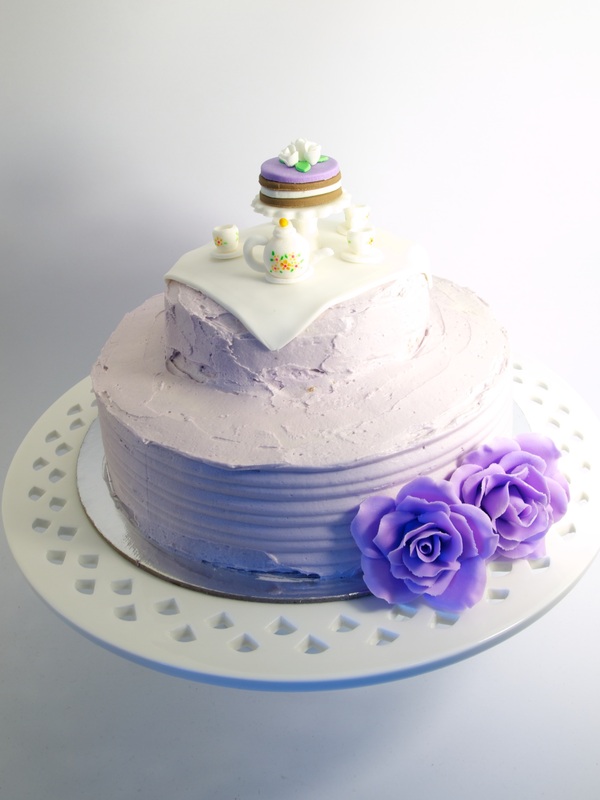
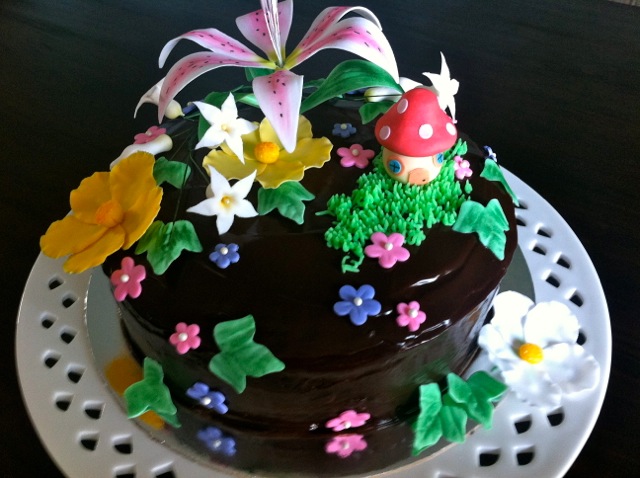
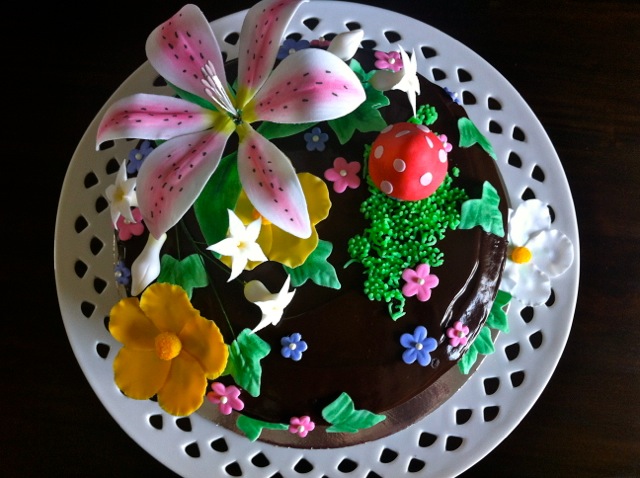
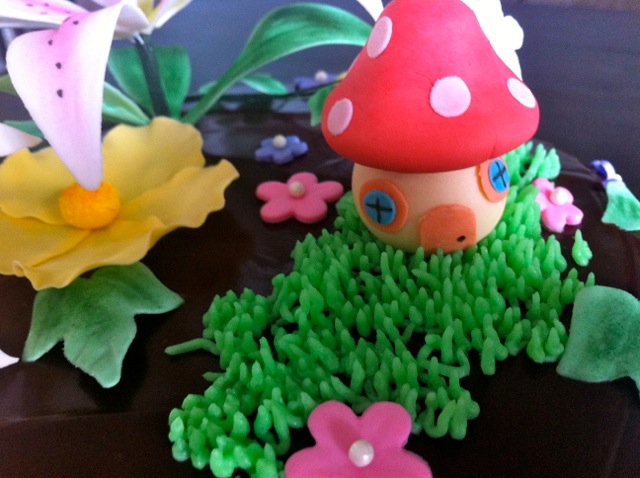
This was a combined cake was for my lovely little niece who turned 2 and Ben whose birthdays are only one day apart. It meant I got to use some of the equipment and techniques I gathered in America (from doing the Wilton courses).
Actually in these photos the cake is not quite complete - I added a sign, and a butterfly which I painted with food colouring. I realised afterwards that I should have diluted the dye with vanilla essence instead of water but I've learnt my lesson and will do it right next time. Still, it was good enough.
Actually in these photos the cake is not quite complete - I added a sign, and a butterfly which I painted with food colouring. I realised afterwards that I should have diluted the dye with vanilla essence instead of water but I've learnt my lesson and will do it right next time. Still, it was good enough. Not the best photo but here is the completed cake.
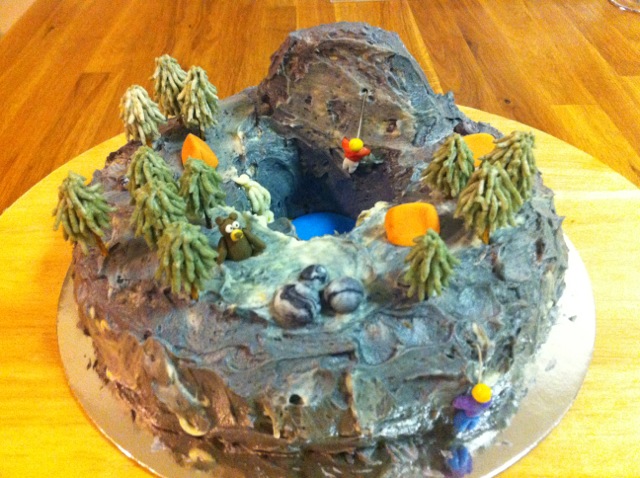
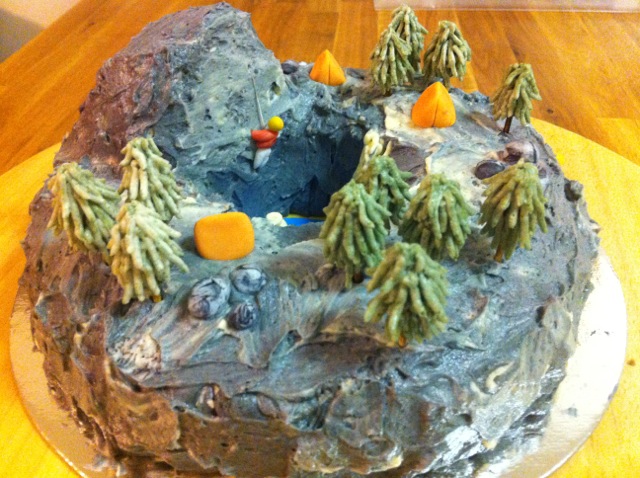
Here's the Yosemite themed cake I made for Ben's birthday (we went there last month . It's a chocolate cake with buttercream icing and decorations made of gumpaste and buttercream.
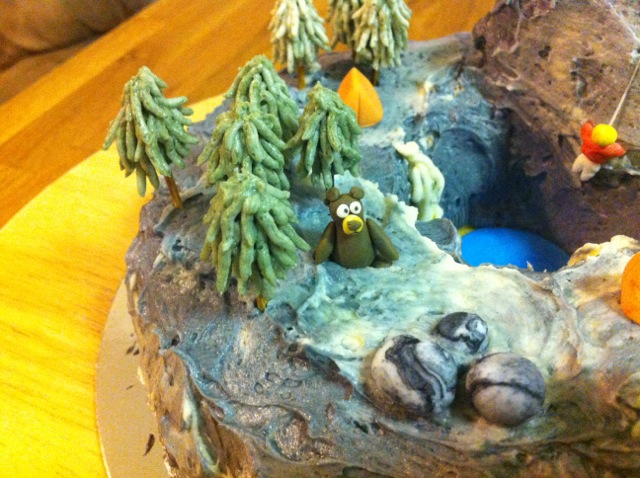
I used the chunk I cut out of the centre to make 'Half Dome'. You can just see Mirror Lake down there at the bottom, and I also had a few white buttercream waterfalls going down the inside. The grey buttercream is black food colouring half mixed in. Rocks are gumpaste with black colouring that is not fully mixed. Tents and climbers are gumpaste. I used some of the wire for making flowers as climbing rope which held the little guys on the cake. I had to do some last minute neck surgery but after that he was fine ;)
The trees have a cone shaped base made of gumpaste that I tinted green. I put a toothpick into the base and painted the part that would be visible with brown food colouring. Then I piped the green starting from the bottom and moving up in rows. The toothpicks made it really easy to attach them to the cake and looked just like trunks anyway.
The little bear was trickiest of all and looked nothing like a bear until I got that lighter patch around the nose on. After that he was looking okay and I added the nose, ears and eyes (dotting the pupils with a food writer).
This was definitely one of the funnest cakes I've made!
It's hard to believe my 2 months in Atlanta are almost over. All of my lovely things I've bought are safely tucked away in suitcases and I'm just about ready to go home. This trip I have done calligraphy, hand sewing and some polymer clay miniatures, but most of all - cake decorating! I took some of the Wilton courses offered at Michael's which were fantastic.
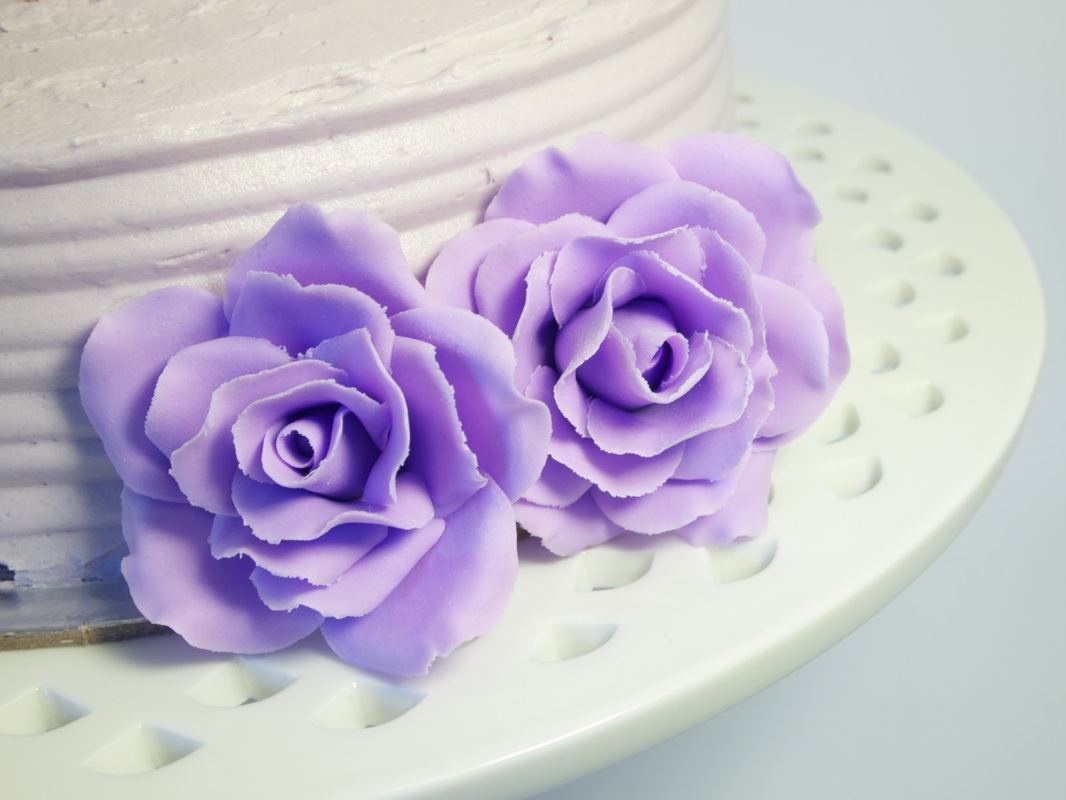
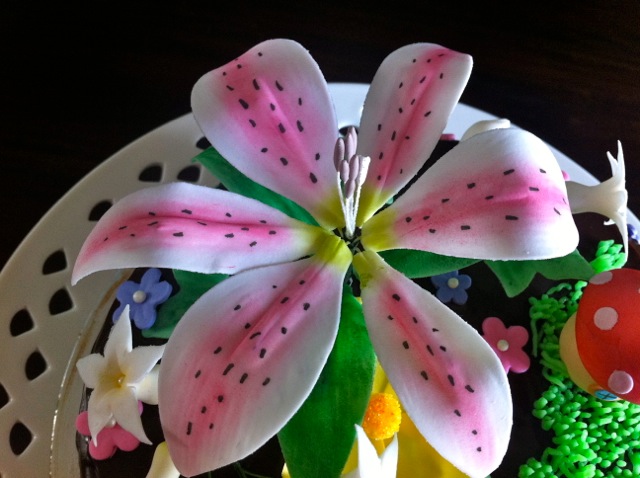
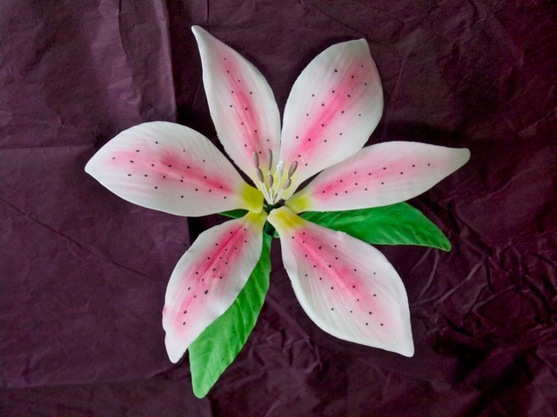
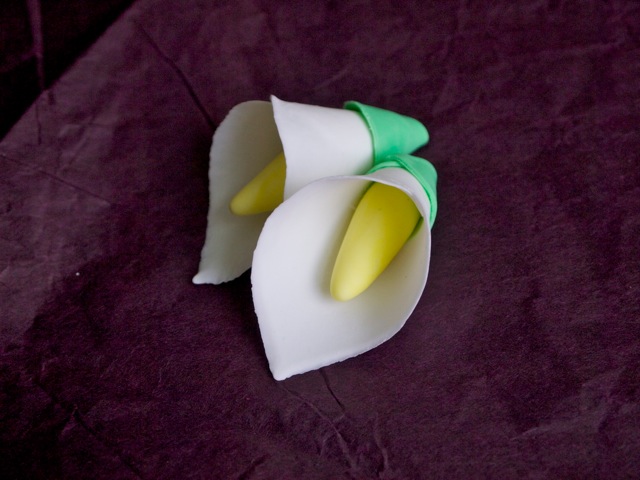
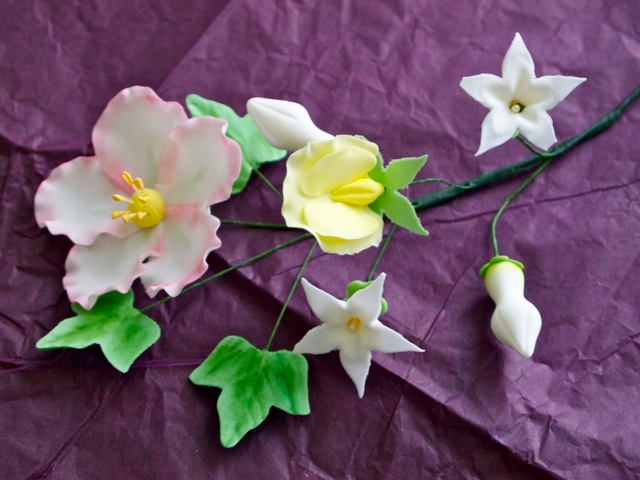
Here are some of the flowers I made from gumpaste.
Stargazer Lily
Calla Lily
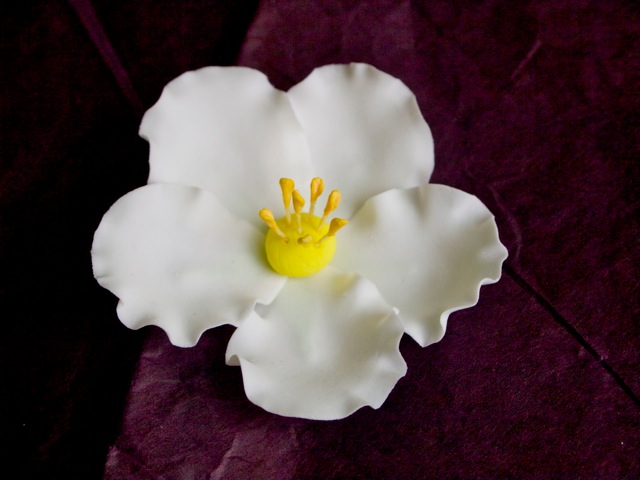
Briar Rose (before colouring the edges)
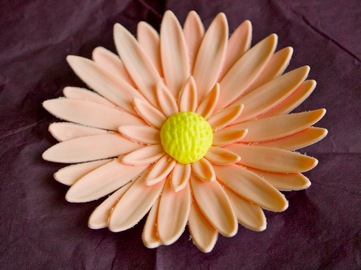
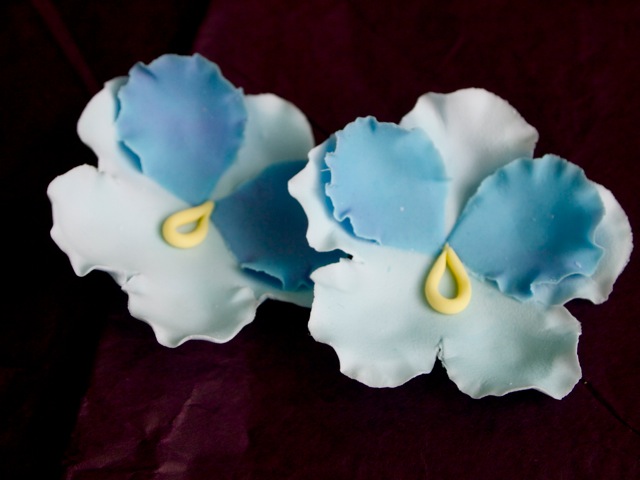
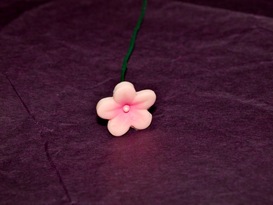
Gerbera, Pansies (the colour faded from violet to blue~!), and blossom of no particular variety.
Wired posy with briar rose, sweet pea, stephanotis flowers (broken petals, oops!) and buds, ivy leaves.
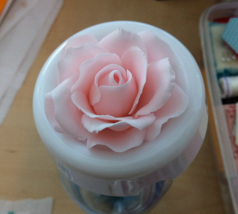
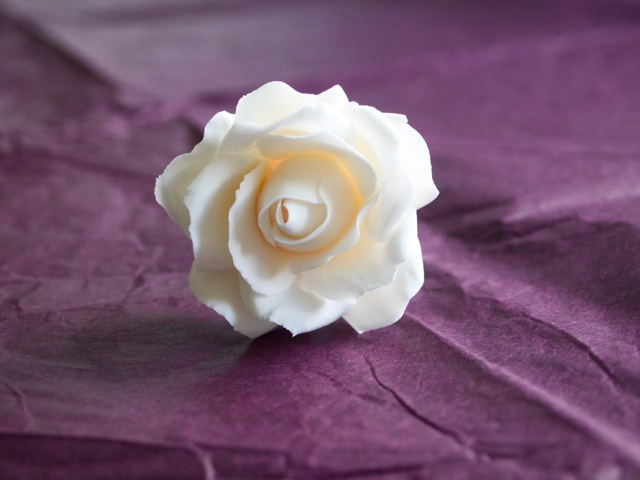
...And my rose. Check out how much the colour changed as it dried.
| Yes, it is the same flower! Much nicer with the pink I think. | |
For this rose I actually followed a youtube tutorial -
here (2 parts). I also made some other flowers but these are the ones I was most happy with. Can't wait to do more of these at home!
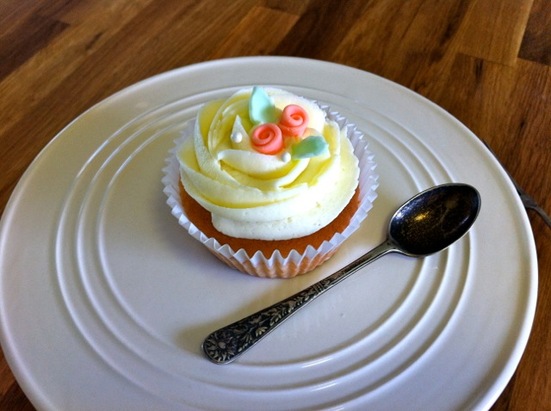
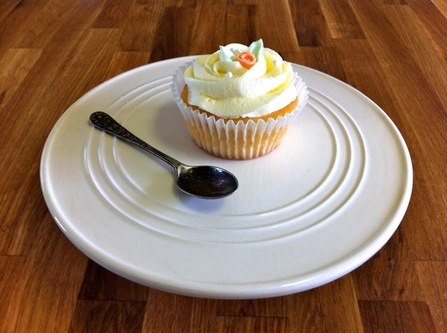
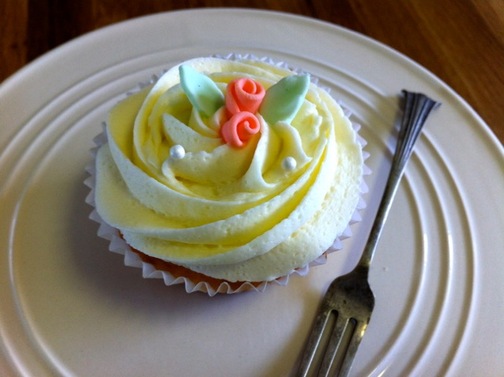
Another first for me this week, my first paid cupcake job. Katy has a friend who was looking for someone to make 30 cupcakes for a mother's day event and she recommended me. I like a challenge and it's been a while since I've had an excuse to do 'pretty' cake decorating so I was really excited about this one!
Happy Mother's Day to all the mums!
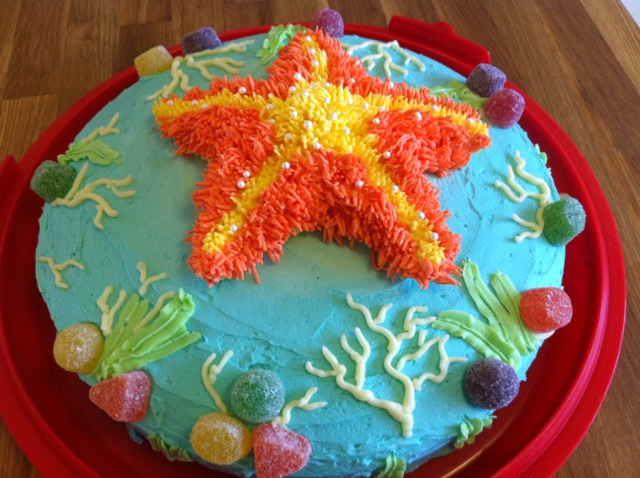
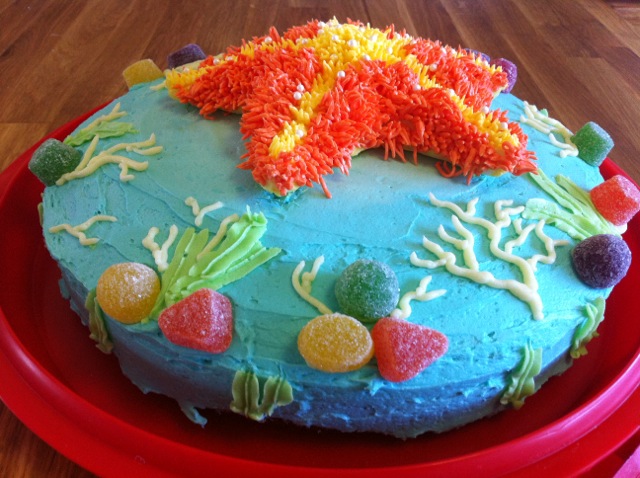
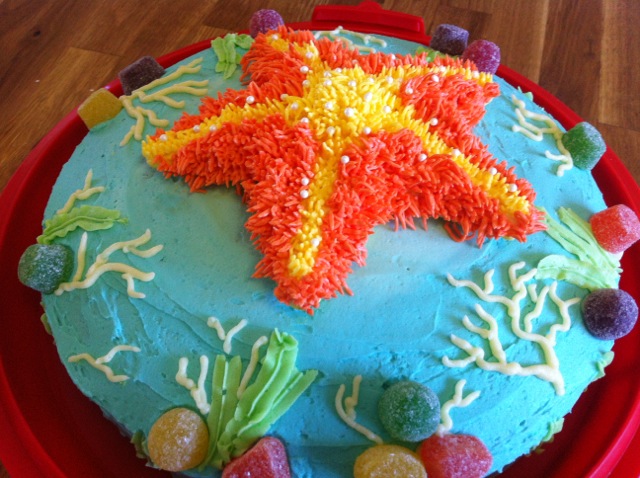
It was my friend Jenny's birthday recently and I was able to make her cake. She is way into scuba diving so I wanted the cake to have some kind of underwater theme.
I made the starfish from fondant - much easier than I expected - by shaping each arm separately and then joining them in the middle. I used a template of a starfish shape under baking paper so that I could get the proportions right. I piped the hairs on with buttercream using my 'grass' piping tip.
What a fun cake to make! I hope Jenny liked it.


 RSS Feed