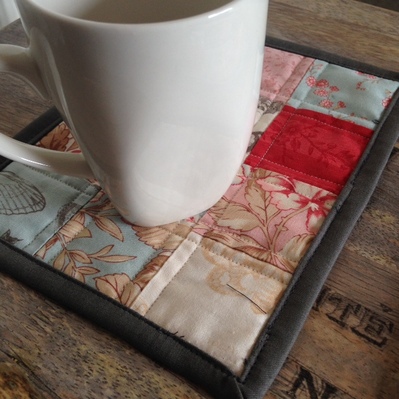
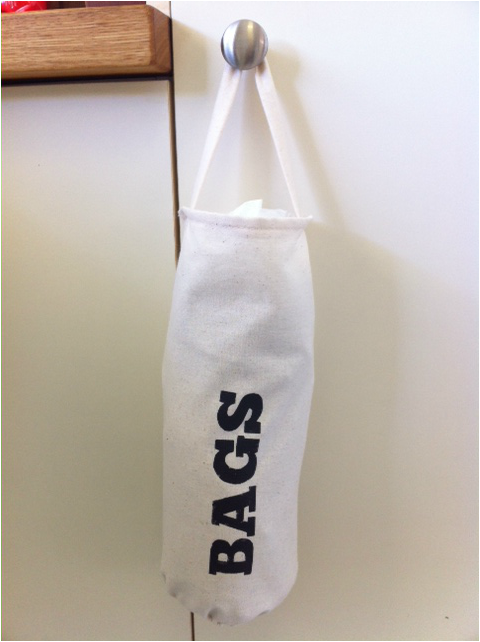
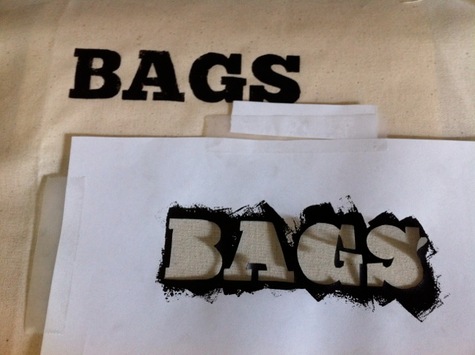
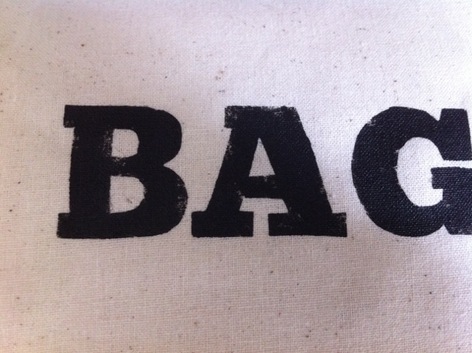
I've made some more mug rugs - the leftovers from my cushions were just enough to make these. I made them to give to Katy who has been the driving force behind my sewing endeavours over the last year or two. The patchwork is the first I ever did so I thought it appropriate to give to her as a thank you.
Oops, how did that stray piece of cotton get in my photo!
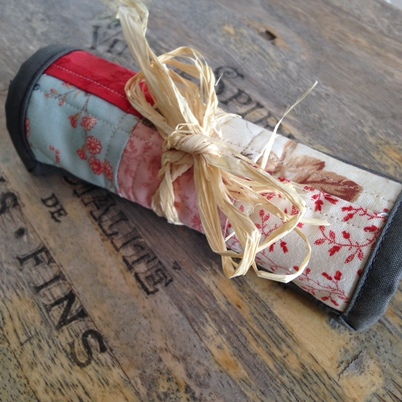
Here they are, rolled together and ready to take to Katy's for Thursday's sewing day.
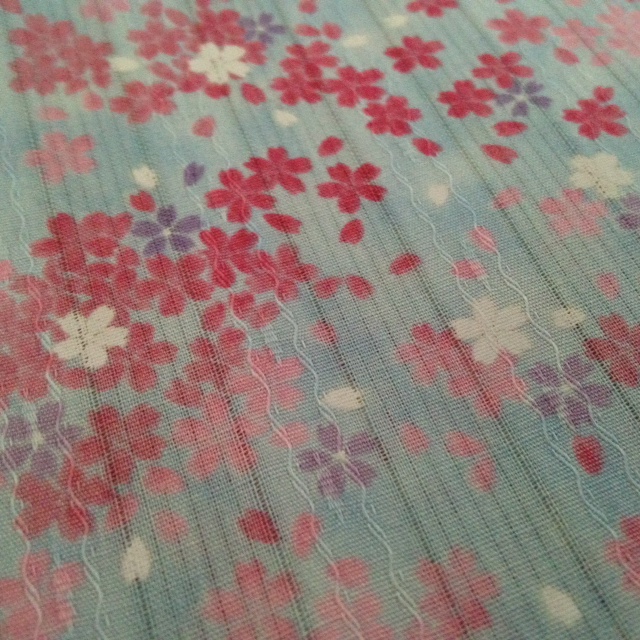
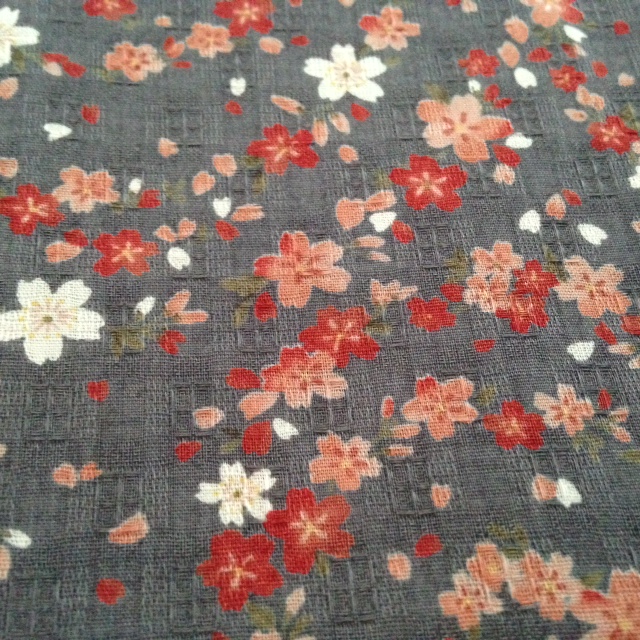
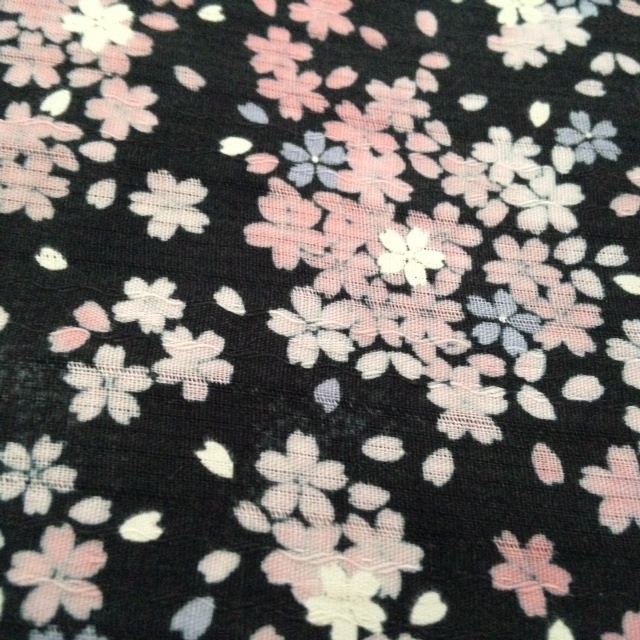
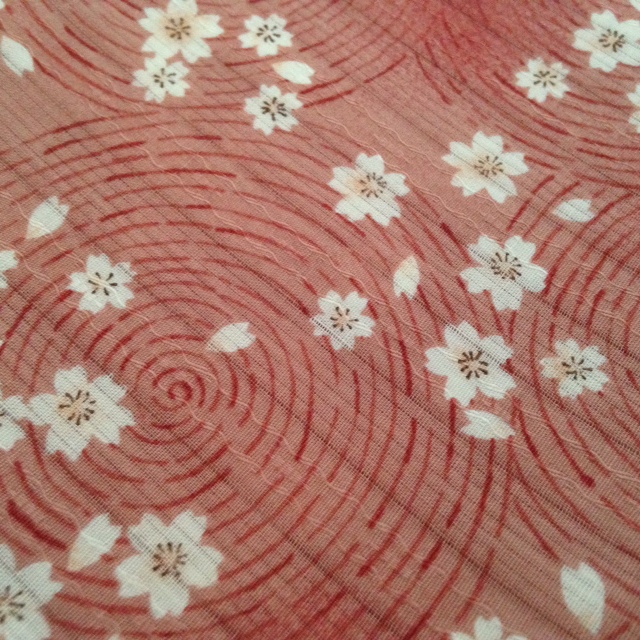
On the weekend we went up the coast to stay with some friends in their holiday apartment and watch another friend in the Noosa Triathlon. I didn't have high hopes for getting to any sewing shops but on the way back we detoured through Maleny and passed by the patchwork shop there. The car fuel light was on and Ben was stressing about running out of fuel (seriously, how do we always let this happen!) and I was so pleasantly surprised when he offered to let me duck in while he did a petrol mission.
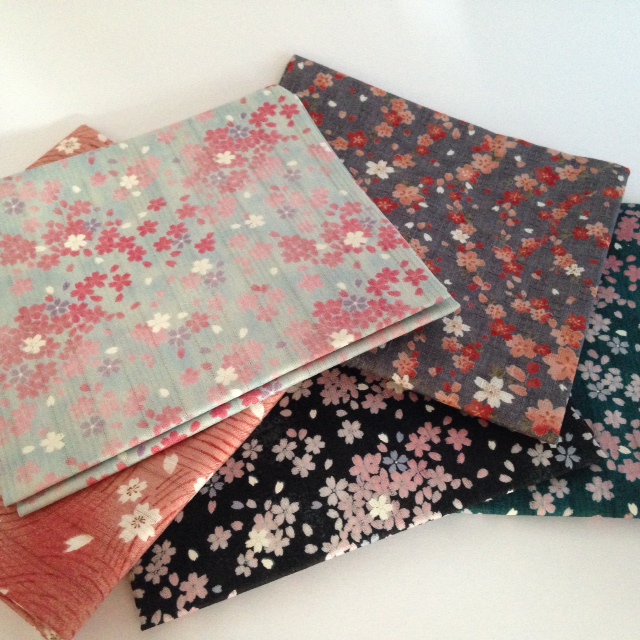
They're not usually open on a Sunday, but at that exact time someone just happened to be in there and she had the 'open' sign up on the door. They had the most beautiful fat quarters of Japanese fabric. I couldn't believe when I saw the price - just $3! I love these colours and they are beautifully textured, I hope you can see that in the photos. Don't you just love when things go right!
A couple of weeks ago my sis-in-law and sewing companion told me she was going to sell her sewing machine. Even though it's older than mine, it's lovely and smooth to sew with and has features and feet that mine doesn't have (and is Janome brand so I can also use with it feet that I have bought for my Elna).
I usually leave it at Katy's as a spare for Thursday sewing days so that can both sew at the same time, but I brought it home this week to try and finish off a few more projects.
I've finally gotten around to finishing off the second one of
these...
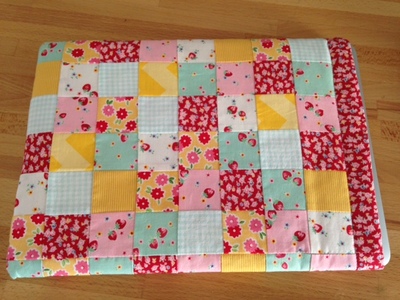
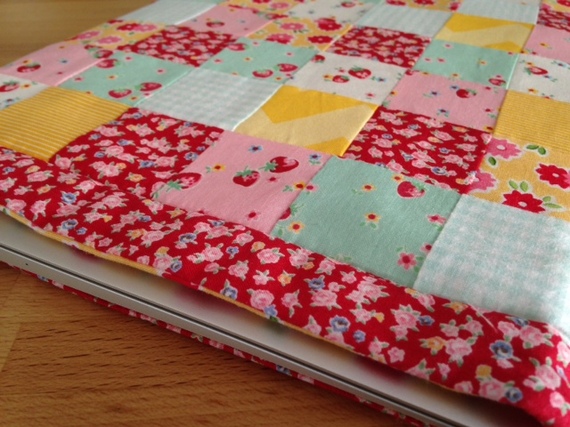
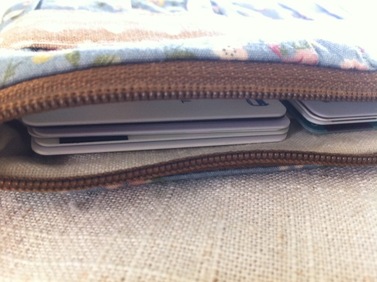
And then I finished off a patchwork laptop sleeve for my new macbook air.
Can't resist a photo of the beautiful fabrics close-up!
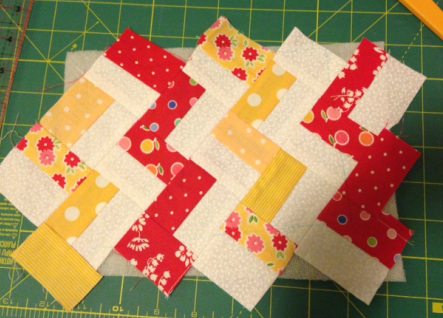
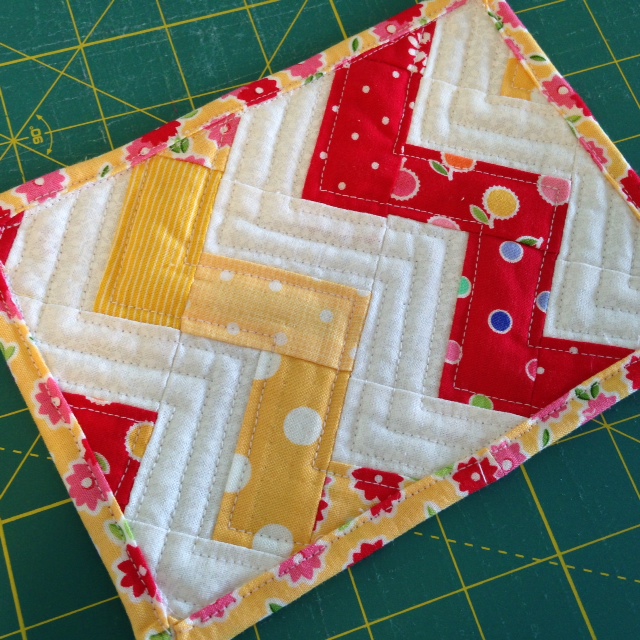
After finishing my zig-zag table runner, I wanted to practice the quilting and binding techniques again to make sure I'd remember how to do it the next time. So I decided to make a mug rug but with smaller rectangles. If you don't know what a mug rug is - think coaster but with a bit of extra room for a snack. Not really a life necessity, more of an excuse to sew something.
I scaled down the sizes of the rectangles to get enough of the pattern in. The patchwork fabric is from a Super All Stars charm pack by Lakehouse Dry Goods and a random white fabric that I had in my stash.
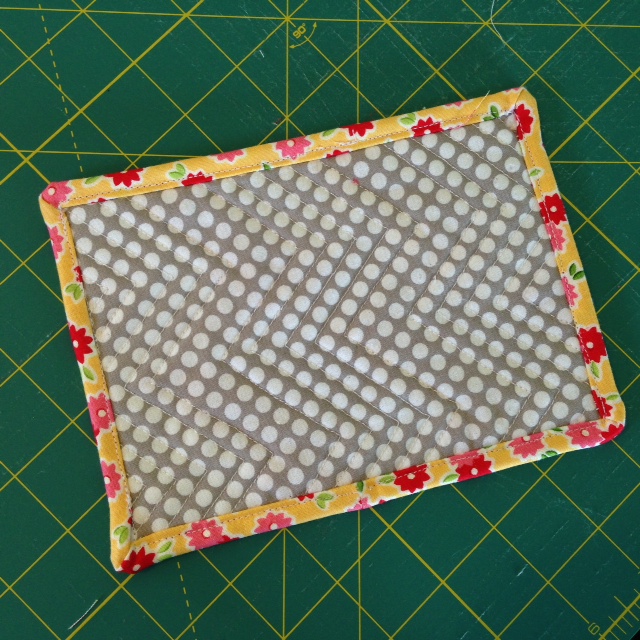
So what about that revelation..? Ah, yes. So in binding this one I cut my fabric too narrow (again) and it resulted in a messy uneven binding with bits sticking out in places, yuck! I had to unpick it, cut new binding and completely redo it. Then I realised that so many projects I've made have been much more difficult than they needed to because I've either bought or cut too little fabric. Remember that
cushion cover I made a while back? - Not enough of the back fabric so I had to attach a hidden section of calico; I also didn't buy enough of the grey fabric for the frill, which made it a complete nightmare to work with and less wide and frilly than I'd wanted. The afore mentioned zig-zag table runner? - cut my binding too narrow. I could go on...
Part of the reason is me underestimating or not knowing what I need, but also just to avoid spending more money than I have to. But from now on, my new motto will be "spend a dollar, save an hour".
On Sewing Day Thursday, I finally finished a project I started, oh, probably more than a year ago.
Despite all my talk of quilting, this is actually the first quilted piece that I have made and finished with binding (
my last patchwork became a cushion cover - no binding!). But I guess it should be known that I also have 5 other patchworks on the go at various stages of completion!
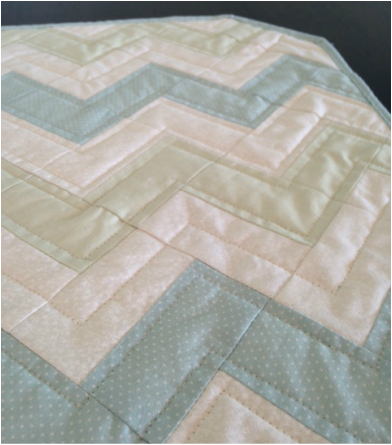
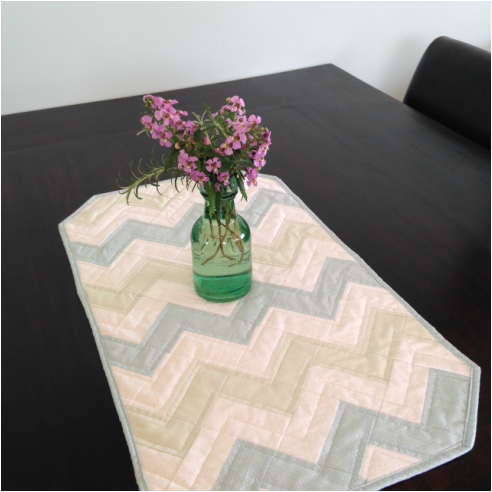
This one is for the dining table - I wanted to try something small and I think I chose the fabrics from my stash of fat quarters, so this was as big as I was able to get. But I'm happy with the size - it fits nicely in the centre of the table.
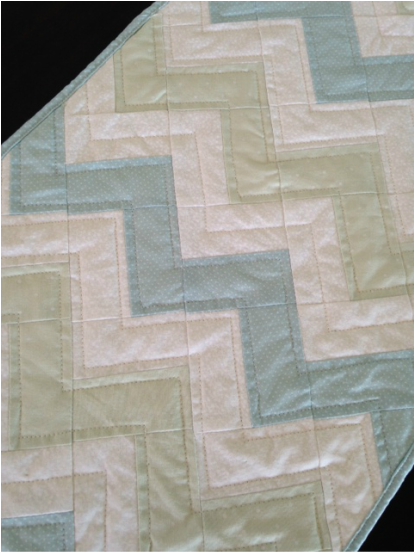
I love how the zig-zag pattern turned out, love the colours, and the quilting lines. Even the back looks awesome. The zig-zag was so easy to make - just squares that are sewn from one white, one coloured rectangle and arranged to form the zig-zag pattern. Inspiration from
here (and more
here and
here) although the link to the instructions seems to no longer work. Perhaps you can figure it out by looking at mine. Each rectangular piece was cut to 3 1/2 x 2", making the squares 3x3" once you sew them together and lose the 1/4" seams.
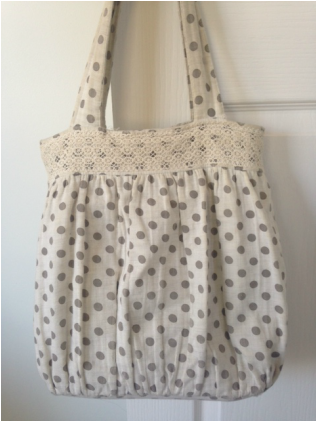
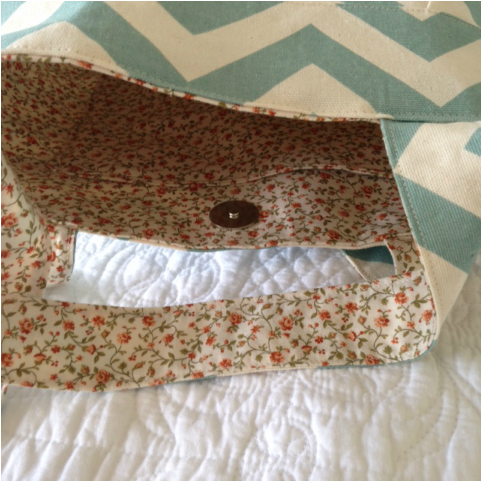
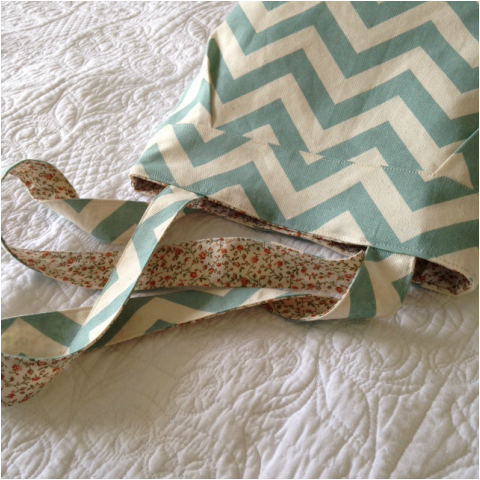
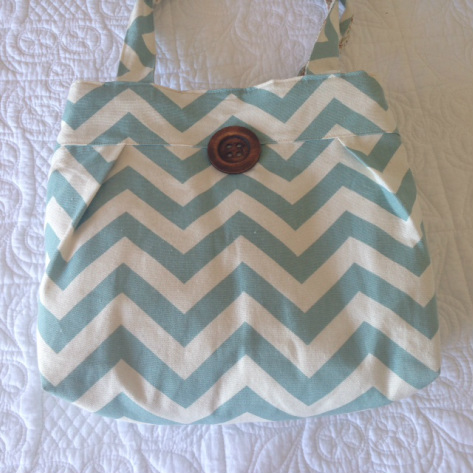
My favourite handbag that I bought in Shanghai is finally on its last legs and I've been looking for fabric to make a replacement that is as versatile and loved as this one was.
There is a free pattern
here for this bag (and another example
here that someone made from the same pattern), although I made some minor modifications - tucks at the sides and no bow. Oops, now I realise in that photo the bag is facing backwards. Anyway, you can see the tucks in the next pics...
The hardest part was sewing the inside and outside together along the top of the bag. If they're not a near perfect fit they will cause a fold so I had to keep unpicking, adjusting and redoing.
I almost forgot the button I had intended to add (in place of the bow) but now I'm not even sure if it needs it. What do you think?
P.S. Notice my new bedspread in the background? It's from Laura Ashley. I've been eyeing it off for ages and it went on sale a few weeks ago ;)
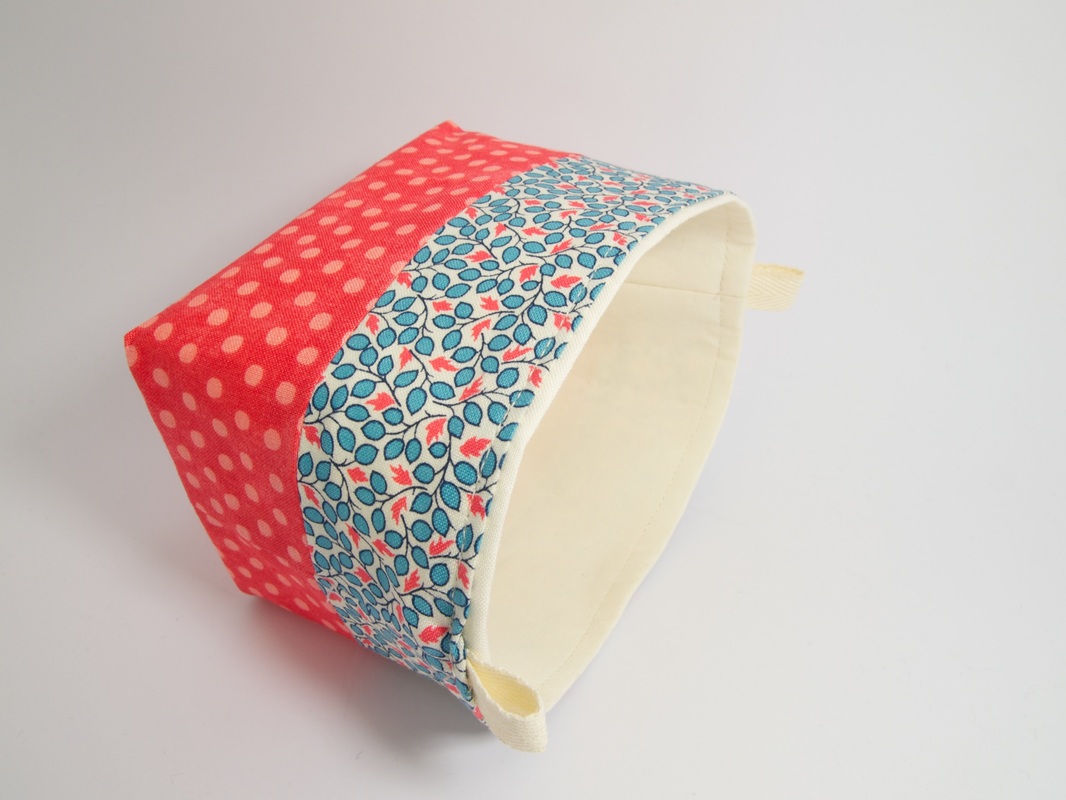
A few weeks ago I had totally lost the sewing bug. I had too many projects going at once and wasn't really excited about any of them. One afternoon I got out all of my patchwork stuff and then didn't feel like doing any of it. I had lost my sew-jo.
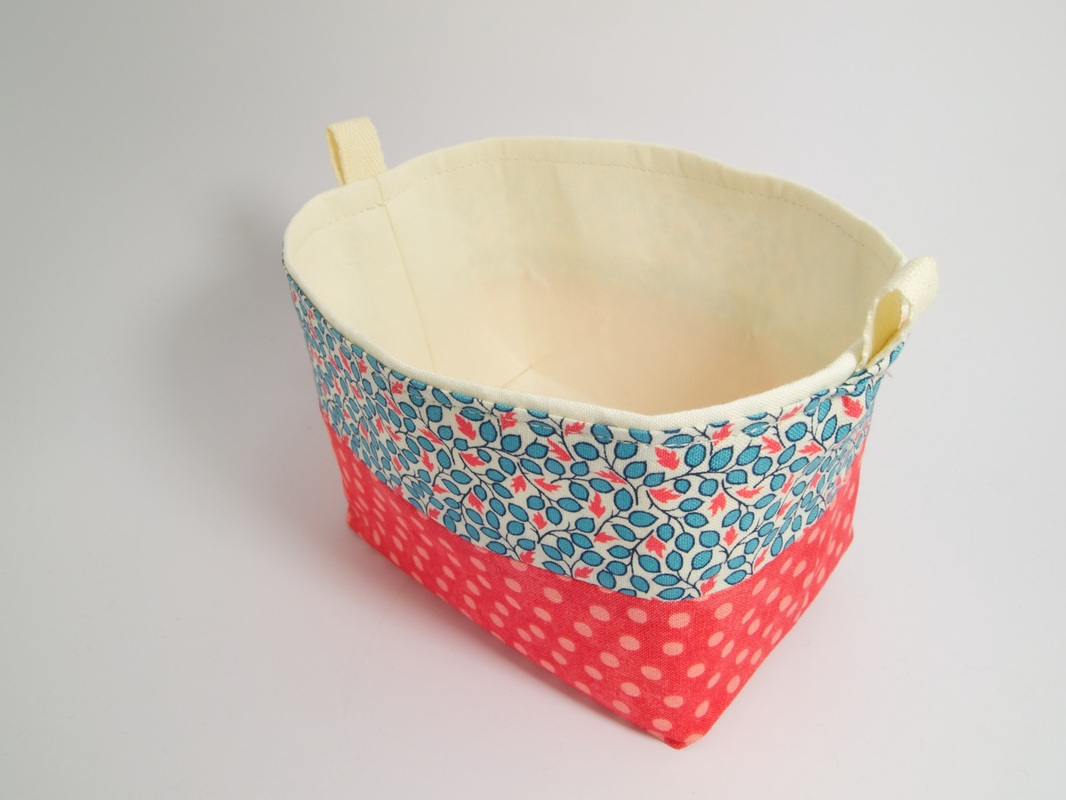
Then one day I did something that I'd been telling myself not to do... I started another project.
It didn't take long and I was pretty happy with the little basket I made. I enjoyed making it so much that I then started making a new handbag with some heavy fabric I brought home from the US. I've almost finished but need to go out and buy a magnetic clasp before I can sew up the opening.
So it turned out that starting something new was the best thing I could have done and I'm now planning to do lots of other little and quick projects without feeling guilty. Here is the
link to the tutorial if you want to make one. I used a very stiff interfacing so it's quite sturdy. It's smaller than I had imagined, but you could pretty easily change the dimensions once you've made one and are familiar with it.
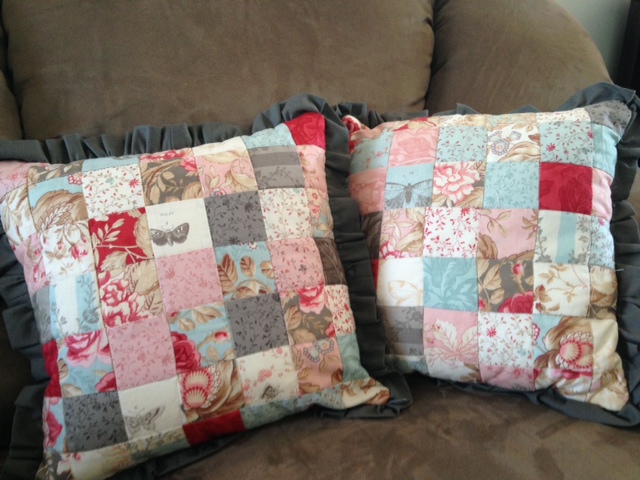
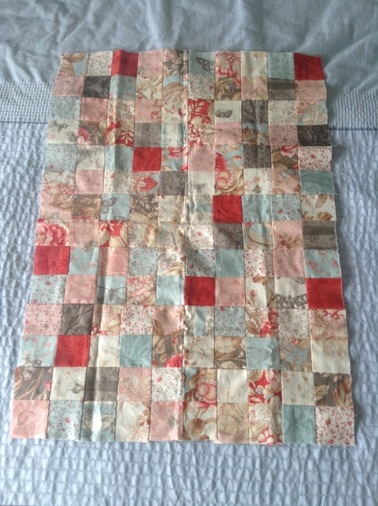
I found the loveliest charm pack and thought I'd really like to use it to make a bed runner (inspired by the one my Auntie Judy made for mum). Problem was I'd never done any patchwork before and I couldn't decide what I wanted to do with it and didn't really know how it would all work out. I was feeling precious about it and was worried about wasting it on something that I wouldn't like. So in the end I went back to the lovely little patchwork store and got a second, different charm pack that I could just play with, without worrying too much about the outcome.
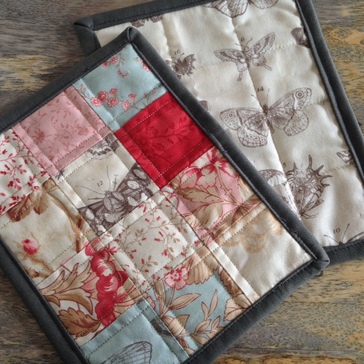
So this charm pack I had became a patchwork...
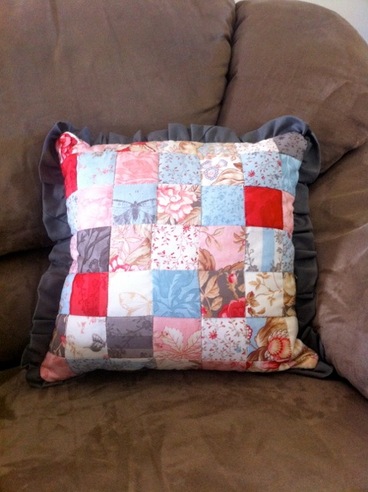
And then eventually I undid some of the stitches and made it into a cushion.
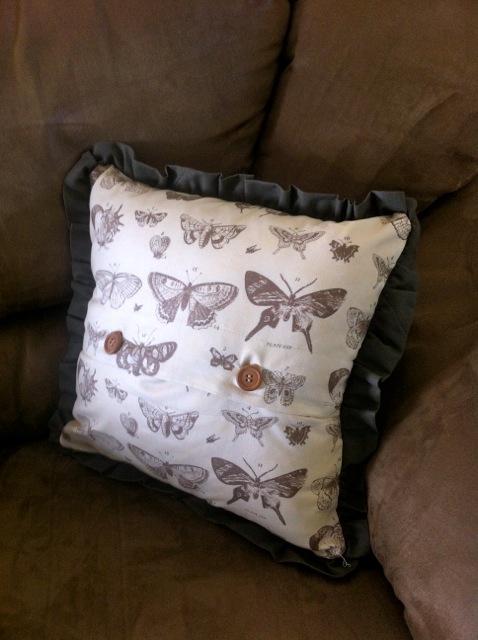
I used the 'scrappy 4 patch' tutorial from
here - this website has heaps of great video tutorials for quilting. The name of this fabric is 'Papillon' and I used a coordinating fabric for the back as well, a plain grey for the ruffled edge, and wooden buttons (my favourite!). I have enough of the patchwork for a second cushion, but so many other projects to do, I doubt I'll get back to it in a hurry!
My cushion isn't perfect, but I like it and I sure learned a lot from making it!
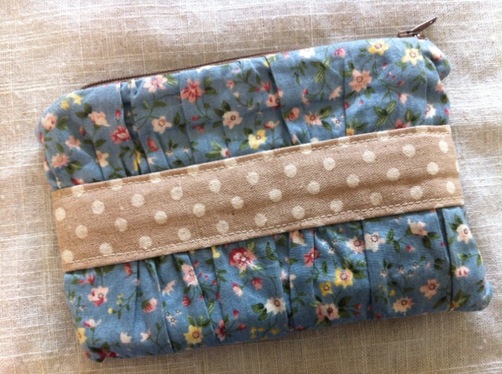
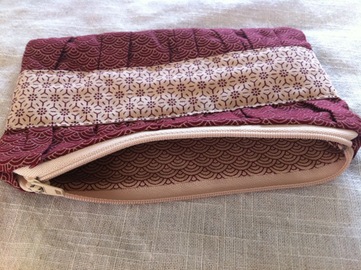
A few months ago Katy and I decided to tackle this
gathered clutch tutorial. I made one with interior pockets that I've been using as a purse and always get compliments when I pull it out at the counter. I like that it's lined with hidden seams, and you can use some great contrasting colours and patterns. I love the ones shown on the tutorial page, go and check them out!
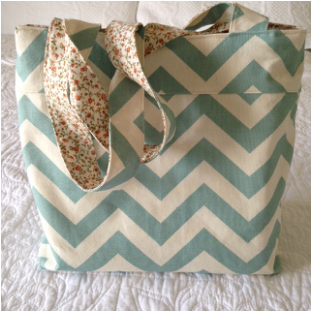
Here's another one I made with some Japanese patterned fabric, just for practice.

 RSS Feed