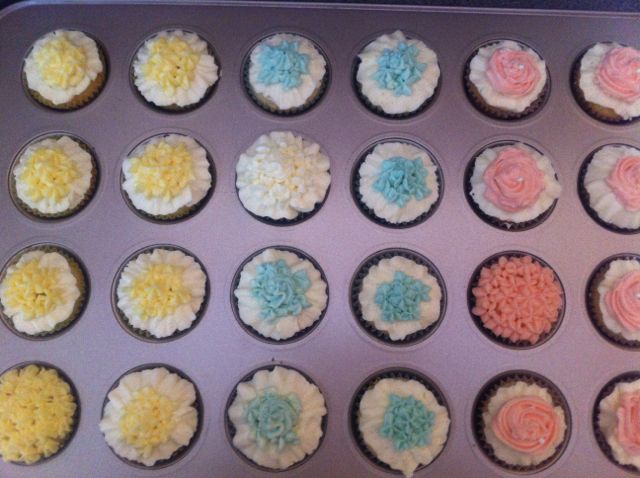
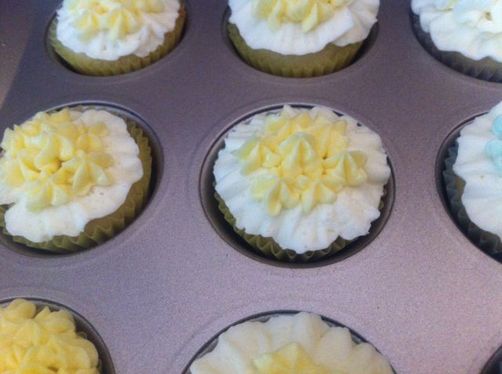
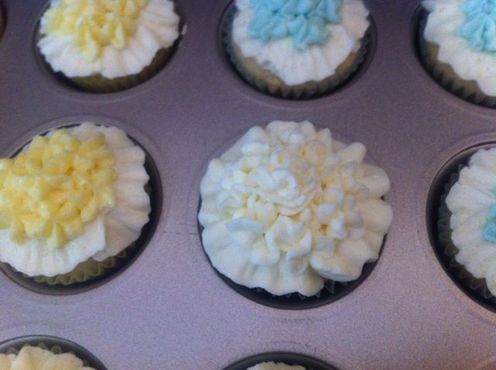
This is my standard cupcake recipe that I use all the time. I don't remember where I got it but I've had it for years. It's very easy and don't recall ever screwing it up.


Basic Cupcakes

Ingredients
200g butter (softened) or margarine
1 tsp vanilla
1 cup caster sugar
3 eggs
2 1/2 cups SR flour (sifted)
1/2 cup milk

Method
1. Heat oven. Line muffin pan with cupcake cases.
2. Beat butter, vanilla and sugar.
3. Add eggs, one at a time, beating.
4. Stir in half the flour, then half the milk. Repeat.
5. 3/4 fill the cases with mixture.
6. Bake at 160'C/180'C for 15-17 minutes.

Makes about 24
 
This morning I made some mini cupcakes to take into Ben's office here in Atlanta. It is ridiculously hot here (max 41 degrees today!) and even though I only had to drive about 3 minutes down the road, I was rushing and hoping that the icing wouldn't melt off!

I used my new decorating tips that I bought yesterday - No 104 for the ruffled edge and No 224 for the flowery bits.

In my haste I almost forgot to take photos so I really rushed these (they were mostly blurry but I have a few passable ones...). I had to sit them in the very attractive baking tray to stop them from sliding around in the car.
I really like the white one for some reason - it was actually just the one I used to practice but I think it looks a bit more elegant.
 
Haven't written in a while... Why? Because I'm in America! It was a very spontaneous thing to do so I didn't

That means I can get awesome bakie/craftie supplies to take back home with me. Or use here. I'm planning on doing some baking over the next 2 weeks so stay tuned!

Today I bought loads of Wilton decorating tips (for piping bags) which are a quarter of the price they sell for at home! I've also signed up for the calligraphy course I mentioned earlier, and as soon as my supplies get here I'll be right into that as well. 
 
I really love modern calligraphy and I am dreaming about taking the online calligraphy class that Melissa from ISLY has recently launched...  In the meantime, I've been trying to do it on my own with the pen nibs I bought in Germany and Italy earlier this year. So far I'm liking the small one on the right best as it spreads apart further when I apply pressure.
So far I've just done scribbly things to get used to the style but maybe today I will try to make something I can keep.
 
This week Katy showed me how to make this lovely handbag. It's properly lined with concealed seams, a magnetic clasp and even has a little pocket inside! Couldn't have done this without your help, thanks Katy! :)