The lead up to Christmas has been busy! Before Christmas we went down to visit the rest of my family in my hometown - my sister has broken her ankle and so she and her hubby and 4 month old baby are staying down there so my parents can help out.
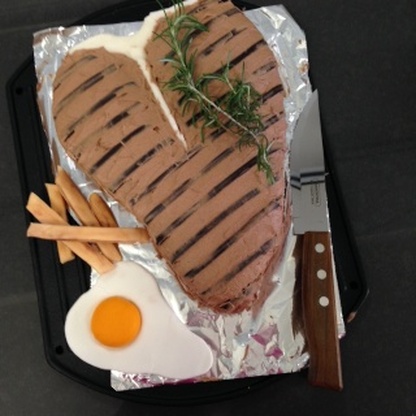
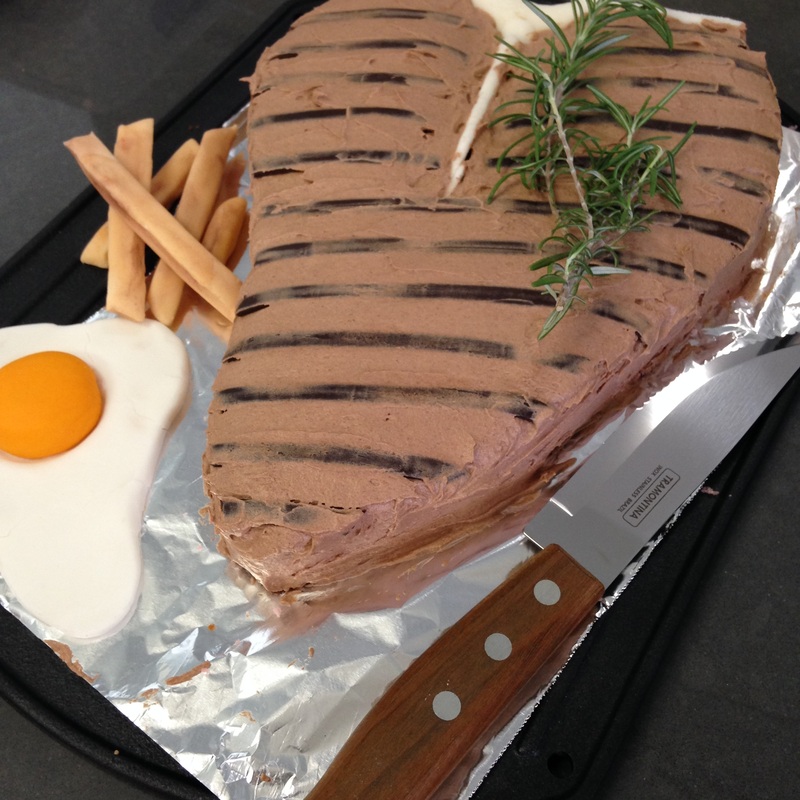
Then we came back up to Brisbane and I flew straight into cake-mode, making this T-bone steak cake for my father-in-law whose birthday was on Christmas eve.
| Here's a quick run down of how I made it -
* The bone is sugar paste with no colouring. I shaped it by hand and then used a fondant cutter to cut the semicircle from the top.
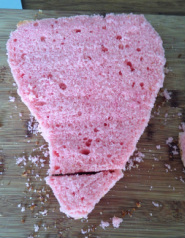
* The cake is a plain butter cake with some pink food colouring (to look medium-rare), levelled and cut into the steak shape.
* The chips and egg are sugar paste. I also dusted the chips with some brown edible powder (Wilton brand).
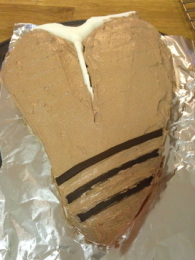
* I iced the cake with chocolate buttercream.
* I rolled out some chocolate fondant and used the Wilton ribbon cutter to cut some even quarter inch strips for the grill marks. I gently pressed a cake cooling rack onto the top of the cake so that the grill marks would be evenly spaced. Then I lay the strips over the marks and used scissors to snip them to the right length. After that I smoothed buttercream over the grill marks to make them blend in and look more realistic.
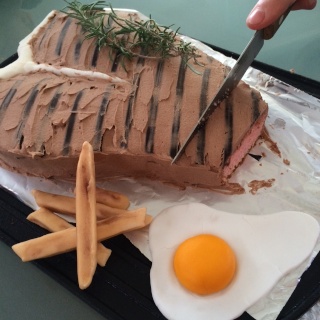
* The rosemary and the knife are real. The cake is sitting on the barbecue breakfast plate that we gave Ron for his birthday.
This cake was definitely a challenge but who doesn't love one of those!
| |
Since my last post, Ben got the opportunity to travel to Japan for work and unfortunately I wasn't able to go because my soon to expire passport was half way through being renewed... I was pretty bummed but Ben promised to bring me home some Japanese textiles, which he did. And...
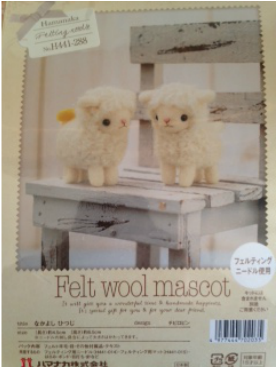
...these super cute little guys.
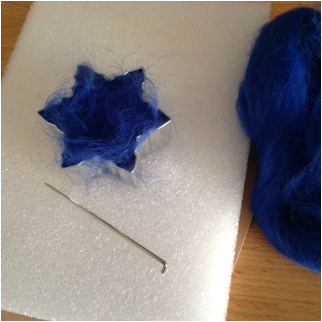
It's a needle felting kit - primarily to give me something to do when we go away and I can't take my sewing machine (I don't do relaxing well). If you don't know what needle felting is, allow me to explain. You get whispy wool fibres and bunch them together, then stab repeatedly with a barbed needle to tangle the fibres. You keep stabbing for as long as you can and slowly compact and mould it into shapes. I found
this great video on Youtube that teaches you how to do it in a cookie cutter.
I love the kit and can't wait to go away now so I can use it, but I also wanted to have a practice run before starting since the instructions are in Japanese. For a while it seemed like I was going to have to order the wool roving on line but this morning I was at Lincraft and found they have it in bags of 6 colours for about $10, which is pretty good. I bought some and here are my first attempts...
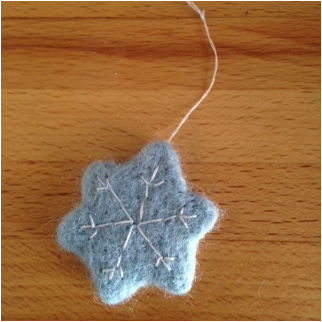
You can see the wool roving on the right and my star shape formed from a snowflake cookie cutter after much stabbing.
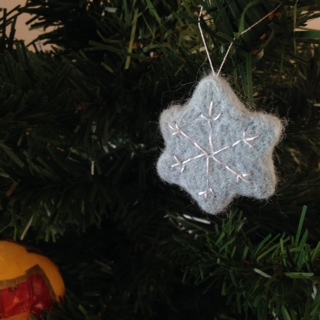
When I was happy with the shape and density, I stitched a simple snowflake pattern onto the front.
Here's another one I've just started working on. You can see how wispy it starts off.
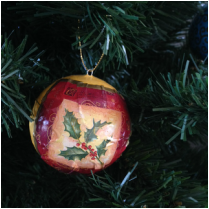
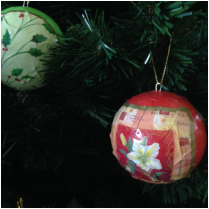
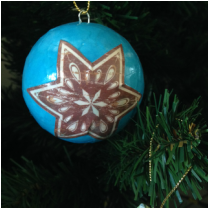
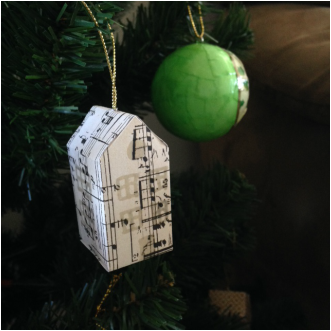
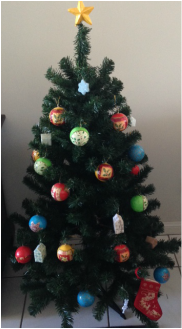
Since a few years ago, every year (except the one where we'd just come back from living in Beijing) I've made some handmade decorations for our Christmas tree - first some paper maché baubles using coloured paper and wrapping paper, then some miniature houses with scrapbooking paper. Looks like I've found this year's decorations!
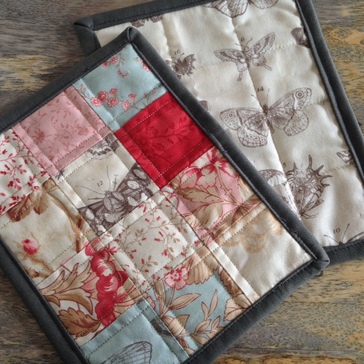
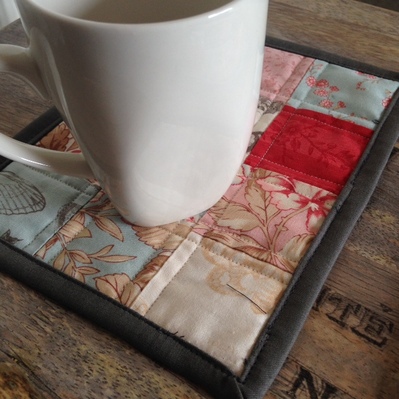
I've made some more mug rugs - the leftovers from my cushions were just enough to make these. I made them to give to Katy who has been the driving force behind my sewing endeavours over the last year or two. The patchwork is the first I ever did so I thought it appropriate to give to her as a thank you.
Oops, how did that stray piece of cotton get in my photo!
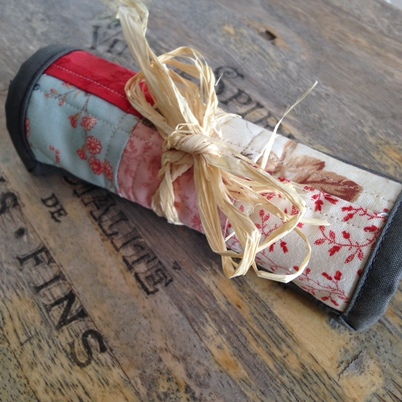
Here they are, rolled together and ready to take to Katy's for Thursday's sewing day.
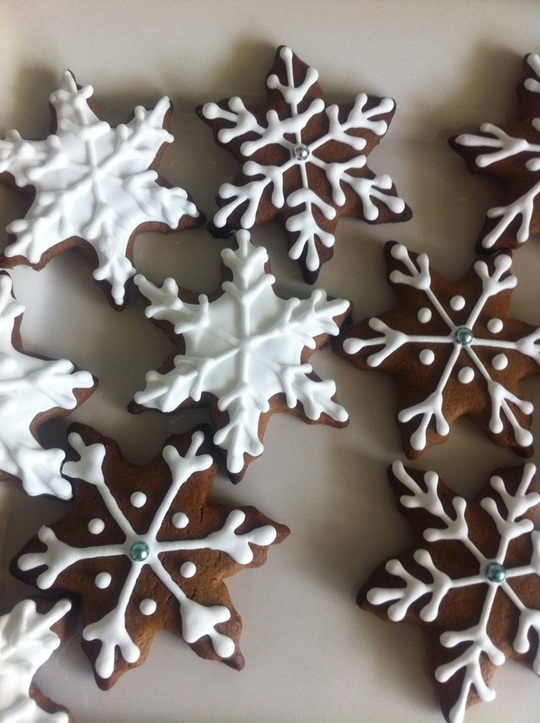
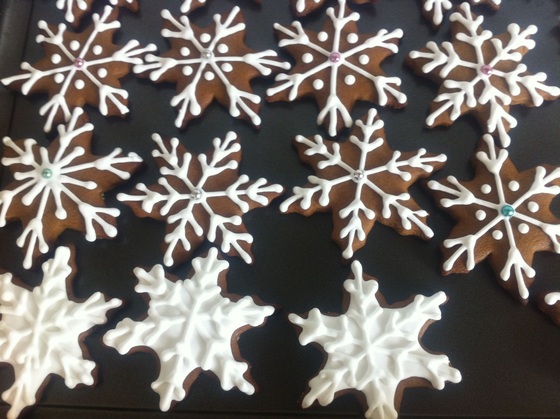
It's now only just over 6 weeks until Christmas and I bet you're all starting to think about Christmassy things, so I'd like to share with you last year's Christmas gingerbread cookies that I made and never got around to putting up here.
I remember that I made an enormous batch of these and slaved over them for a whole day. I left them on the kitchen bench for the icing to harden. On that same day, Ben accidentally knocked over a glass in the kitchen and it smashed on the bench top (not even on the floor - the bench top! Who does that!?), scattering glass everywhere - including over my precious cookies that I'd put so much effort into...
As you can imagine, I was pretty upset about it and poor Ben felt terrible. We went over them very carefully and removed any glass that we could find, (fortunately there wasn't much) and we still ate them :) Oh, how I love gingerbread!
Now that I've had time to recover from this awful chain of events, I'm glad to be sharing it with you!
Here is my gingerbread recipe. I found it years ago in a magazine (probably Woman's Weekly or something) and it's great for hard cookies you want to decorate (as opposed to the soft, chewy ones which spread a lot).
Gingerbread Recipe
Ingredients
125g butter
1/2 cup firmly packed brown sugar
1/2 cup treacle
1 egg yolk
2 1/2 cups plain flour
1 Tbsp ground ginger
1 tsp mixed spice
1 tsp bicarbonate of soda (baking soda)
Icing
2 egg whites
3 cups icing sugar (confectioner's sugar)
Method
1. Heat oven.
2. Beat butter and sugar until light and fluffy.
3. Beat in treacle and egg yolk.
4. Stir in sifted dry ingredients.
5. Knead dough until smooth. Cover and refrigerate for 30 minutes.
6. Roll dough between 2 sheets of baking paper to 4mm. Cut shapes.
7. Bake 10 minutes or until browned at 180 degrees Celsius.
Icing
1. Beat egg whites until small peaks form.
2. Gradually add sifted icing sugar, beating well each time.
3. Add food dye to colour.
On the weekend we went up the coast to stay with some friends in their holiday apartment and watch another friend in the Noosa Triathlon. I didn't have high hopes for getting to any sewing shops but on the way back we detoured through Maleny and passed by the patchwork shop there. The car fuel light was on and Ben was stressing about running out of fuel (seriously, how do we always let this happen!) and I was so pleasantly surprised when he offered to let me duck in while he did a petrol mission.
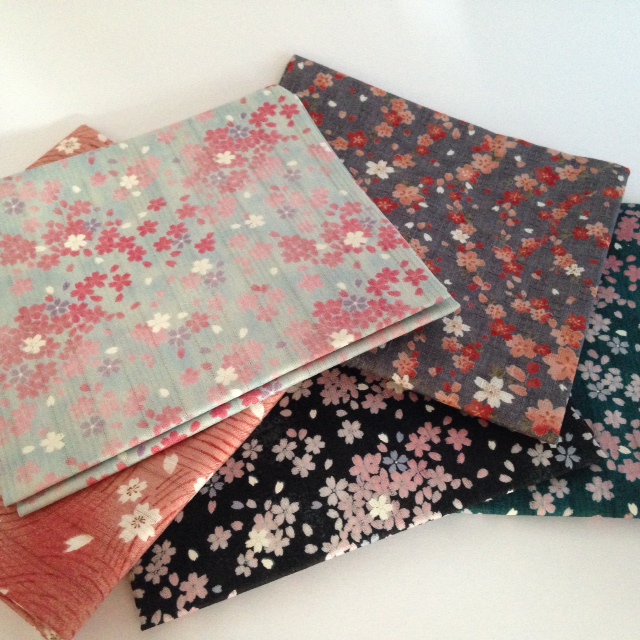
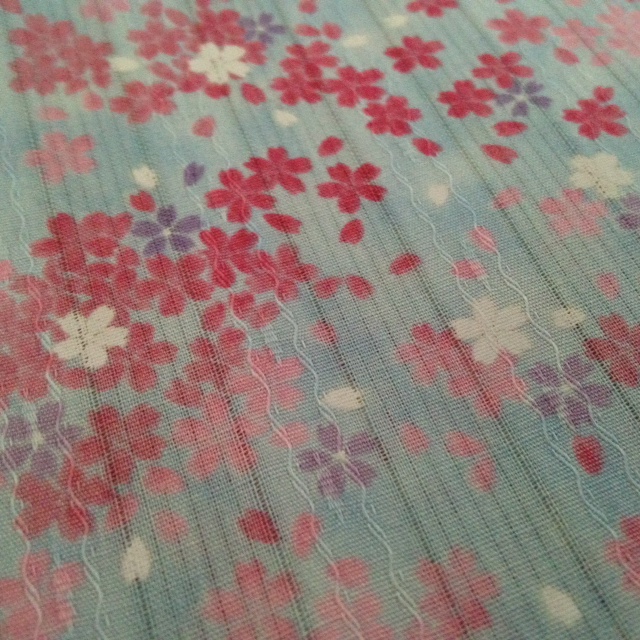
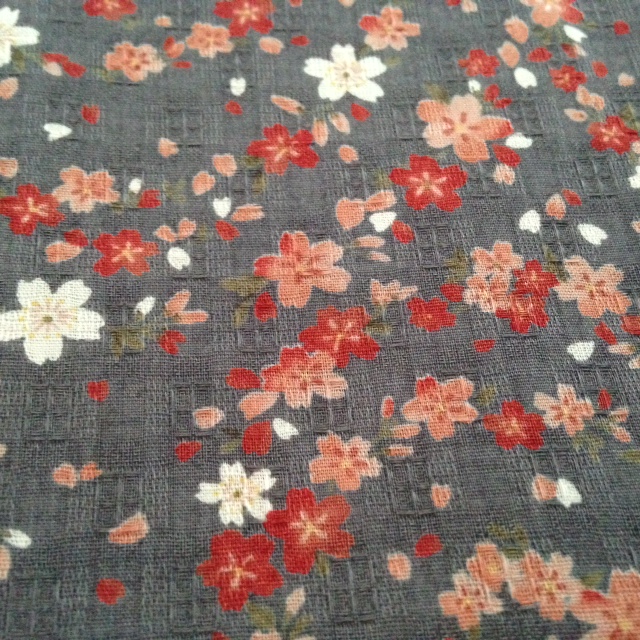
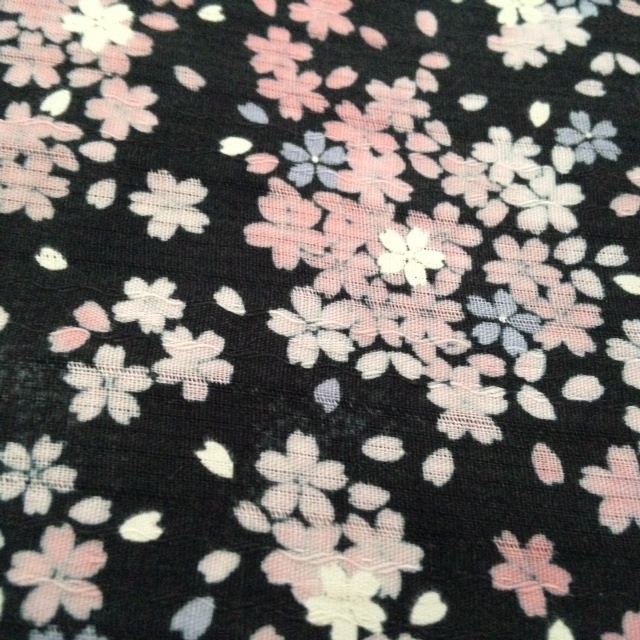
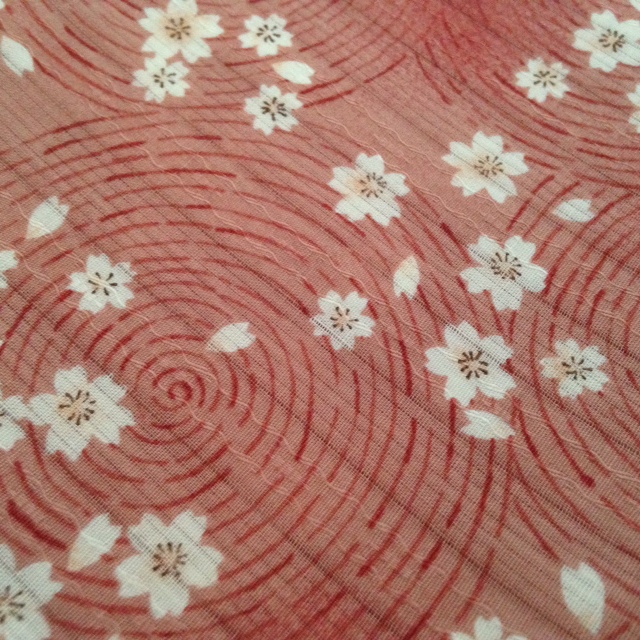
They're not usually open on a Sunday, but at that exact time someone just happened to be in there and she had the 'open' sign up on the door. They had the most beautiful fat quarters of Japanese fabric. I couldn't believe when I saw the price - just $3! I love these colours and they are beautifully textured, I hope you can see that in the photos. Don't you just love when things go right!
A couple of weeks ago my sis-in-law and sewing companion told me she was going to sell her sewing machine. Even though it's older than mine, it's lovely and smooth to sew with and has features and feet that mine doesn't have (and is Janome brand so I can also use with it feet that I have bought for my Elna).
I usually leave it at Katy's as a spare for Thursday sewing days so that can both sew at the same time, but I brought it home this week to try and finish off a few more projects.
I've finally gotten around to finishing off the second one of
these...
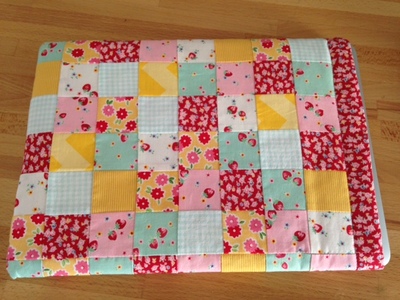
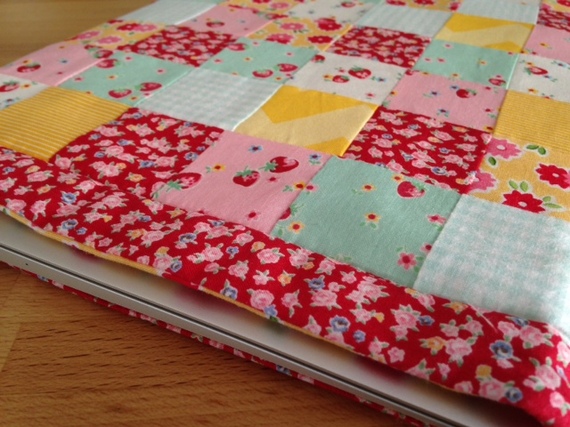
And then I finished off a patchwork laptop sleeve for my new macbook air.
Can't resist a photo of the beautiful fabrics close-up!
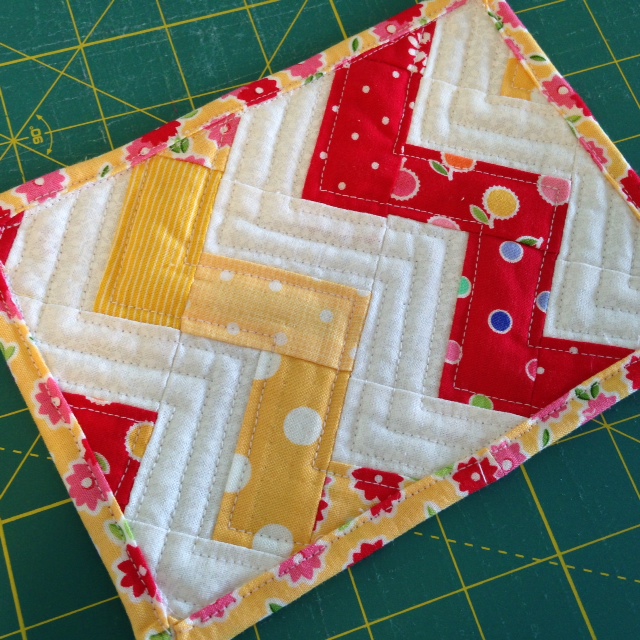
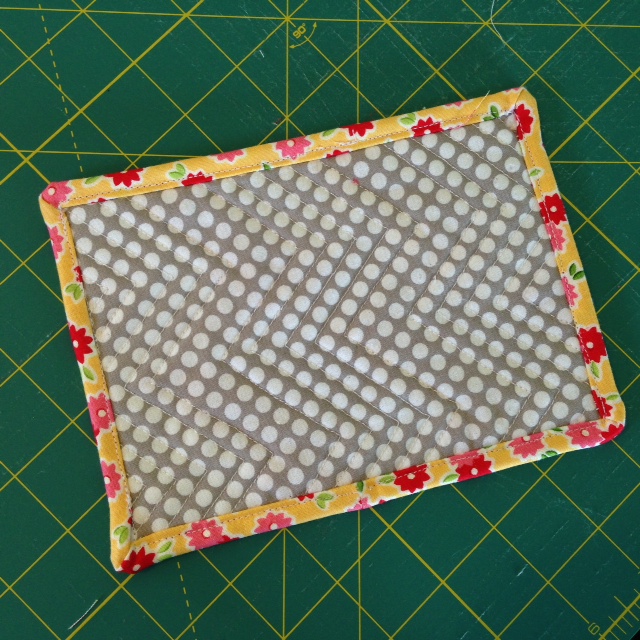
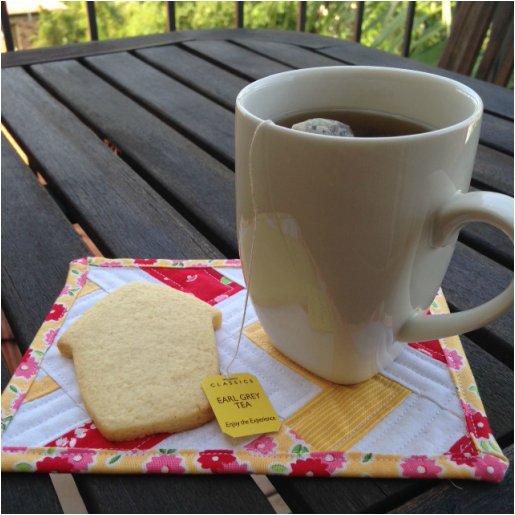
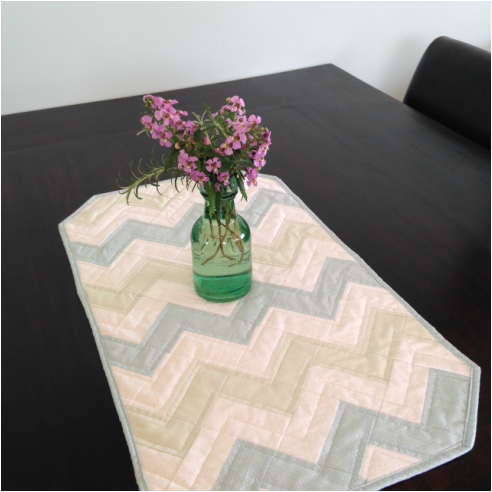
After finishing my zig-zag table runner, I wanted to practice the quilting and binding techniques again to make sure I'd remember how to do it the next time. So I decided to make a mug rug but with smaller rectangles. If you don't know what a mug rug is - think coaster but with a bit of extra room for a snack. Not really a life necessity, more of an excuse to sew something.
I scaled down the sizes of the rectangles to get enough of the pattern in. The patchwork fabric is from a Super All Stars charm pack by Lakehouse Dry Goods and a random white fabric that I had in my stash.
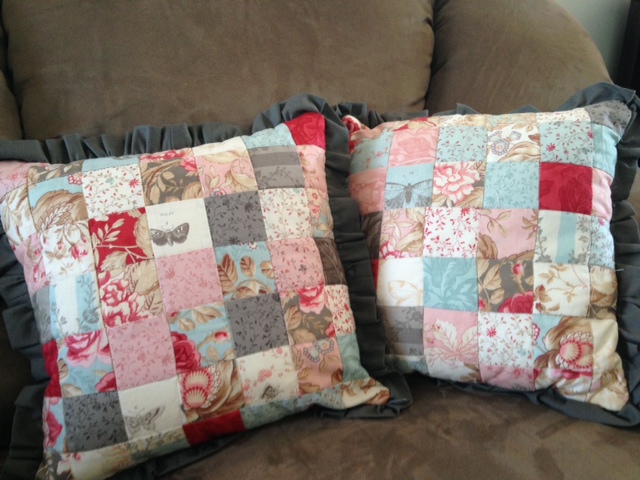
So what about that revelation..? Ah, yes. So in binding this one I cut my fabric too narrow (again) and it resulted in a messy uneven binding with bits sticking out in places, yuck! I had to unpick it, cut new binding and completely redo it. Then I realised that so many projects I've made have been much more difficult than they needed to because I've either bought or cut too little fabric. Remember that
cushion cover I made a while back? - Not enough of the back fabric so I had to attach a hidden section of calico; I also didn't buy enough of the grey fabric for the frill, which made it a complete nightmare to work with and less wide and frilly than I'd wanted. The afore mentioned zig-zag table runner? - cut my binding too narrow. I could go on...
Part of the reason is me underestimating or not knowing what I need, but also just to avoid spending more money than I have to. But from now on, my new motto will be "spend a dollar, save an hour".
On Sewing Day Thursday, I finally finished a project I started, oh, probably more than a year ago.
Despite all my talk of quilting, this is actually the first quilted piece that I have made and finished with binding (
my last patchwork became a cushion cover - no binding!). But I guess it should be known that I also have 5 other patchworks on the go at various stages of completion!
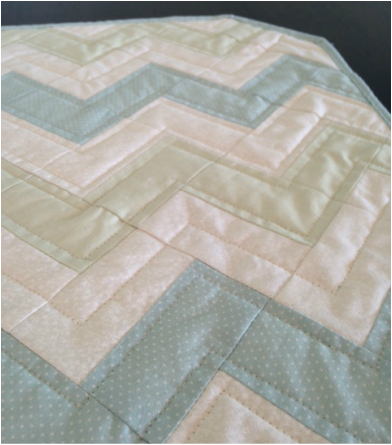
This one is for the dining table - I wanted to try something small and I think I chose the fabrics from my stash of fat quarters, so this was as big as I was able to get. But I'm happy with the size - it fits nicely in the centre of the table.
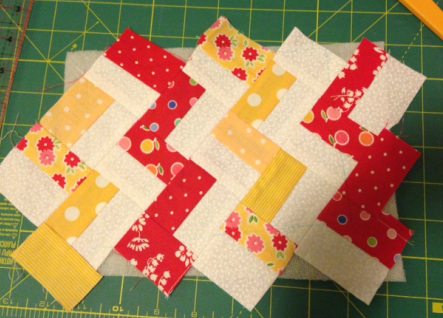
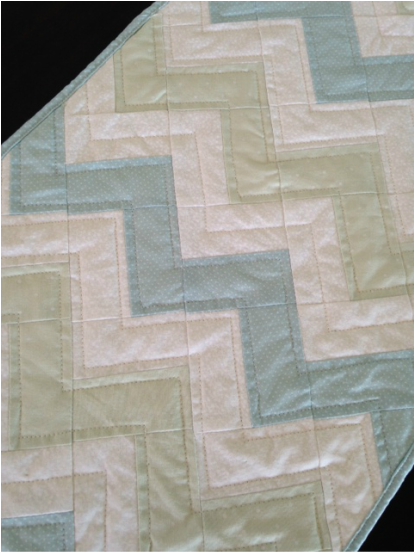
I love how the zig-zag pattern turned out, love the colours, and the quilting lines. Even the back looks awesome. The zig-zag was so easy to make - just squares that are sewn from one white, one coloured rectangle and arranged to form the zig-zag pattern. Inspiration from
here (and more
here and
here) although the link to the instructions seems to no longer work. Perhaps you can figure it out by looking at mine. Each rectangular piece was cut to 3 1/2 x 2", making the squares 3x3" once you sew them together and lose the 1/4" seams.
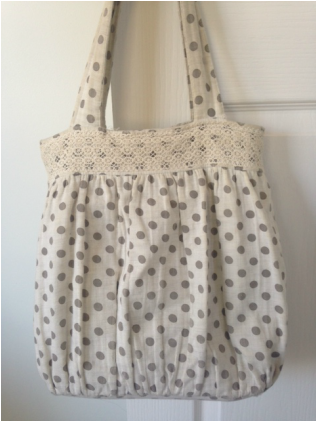
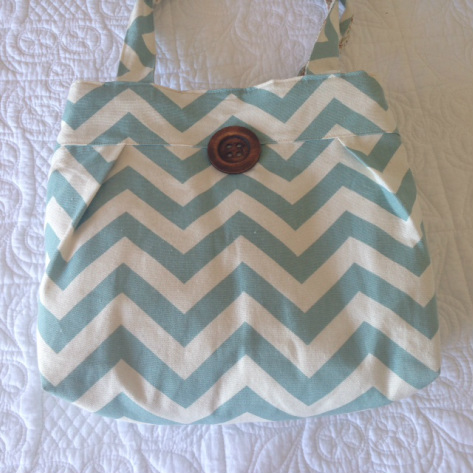
My favourite handbag that I bought in Shanghai is finally on its last legs and I've been looking for fabric to make a replacement that is as versatile and loved as this one was.
There is a free pattern
here for this bag (and another example
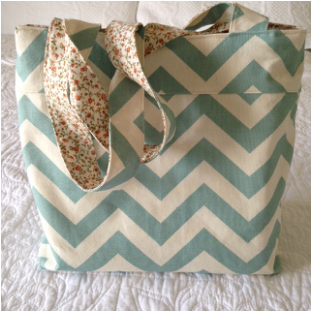
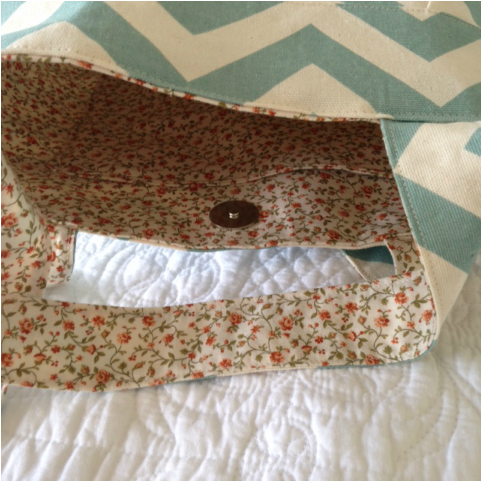
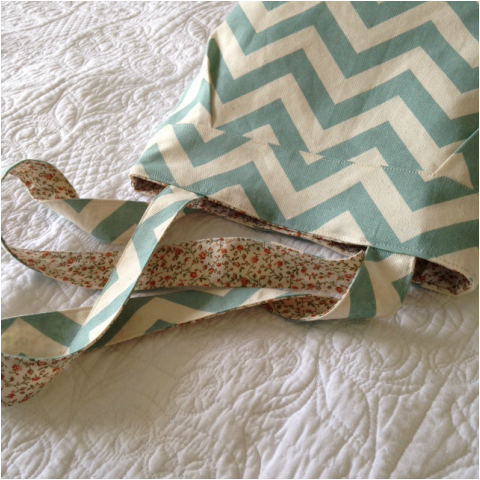
here that someone made from the same pattern), although I made some minor modifications - tucks at the sides and no bow. Oops, now I realise in that photo the bag is facing backwards. Anyway, you can see the tucks in the next pics...
The hardest part was sewing the inside and outside together along the top of the bag. If they're not a near perfect fit they will cause a fold so I had to keep unpicking, adjusting and redoing.
I almost forgot the button I had intended to add (in place of the bow) but now I'm not even sure if it needs it. What do you think?
P.S. Notice my new bedspread in the background? It's from Laura Ashley. I've been eyeing it off for ages and it went on sale a few weeks ago ;)


 RSS Feed