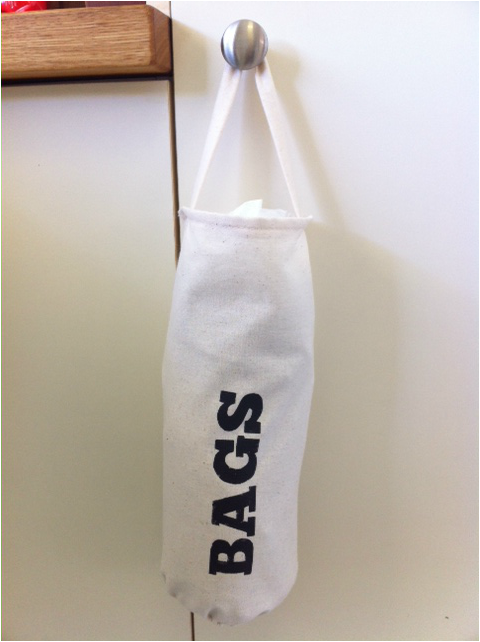
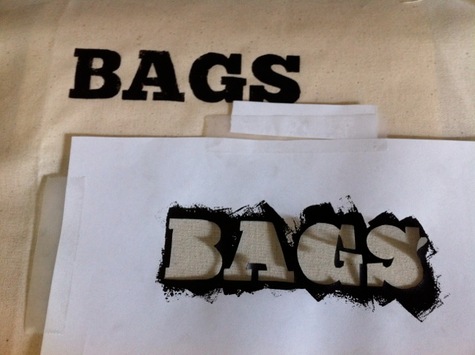
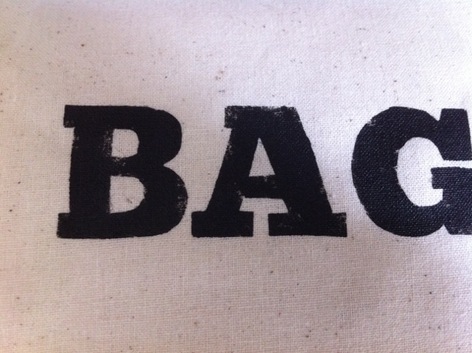
This plastic bag bag (bag dispenser?) was very easy to make. I looked at this tutorial but adapted it to suit what I wanted - I changed the measurements because I didn't want to be storing thousands of bags, just a few and I just wanted the one fabric. I used cheap calico that I already had in the cupboard and stencilled it with black craft paint and a sponge before sewing it together.
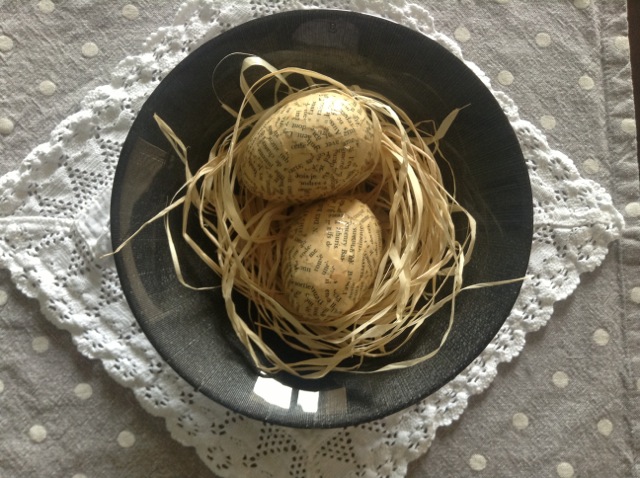
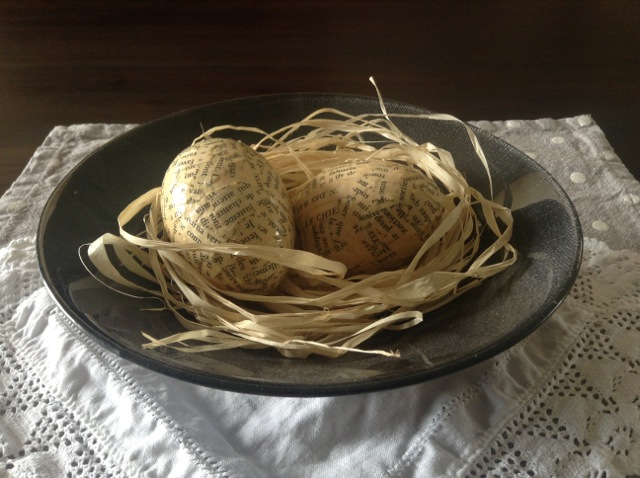
This year's Easter craft - paper mache eggs. I used some foam eggs from Spotlight, paper from the French novel I bought from a flea market in Switzerland (purely for crafty purposes), modpodge and water. Then once fully dried, arranged in a bowl with some grassy stuff. Very easy project but you need some patience tearing up the paper, soaking and arranging (and waiting for it to dry!). The paper was already that lovely yellowed colour. Next year I might try adding some other colours to the mix with paint or dye.
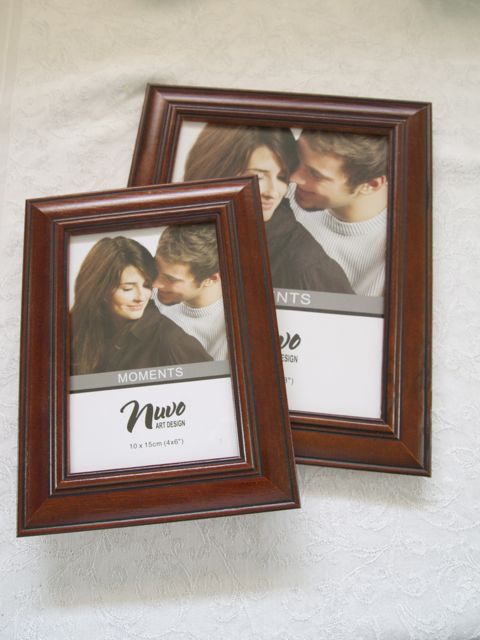
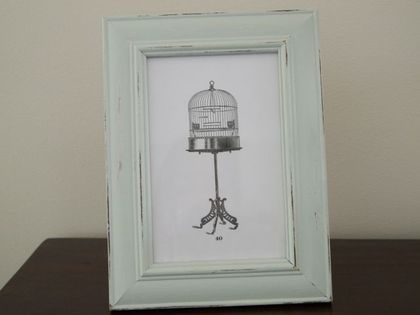
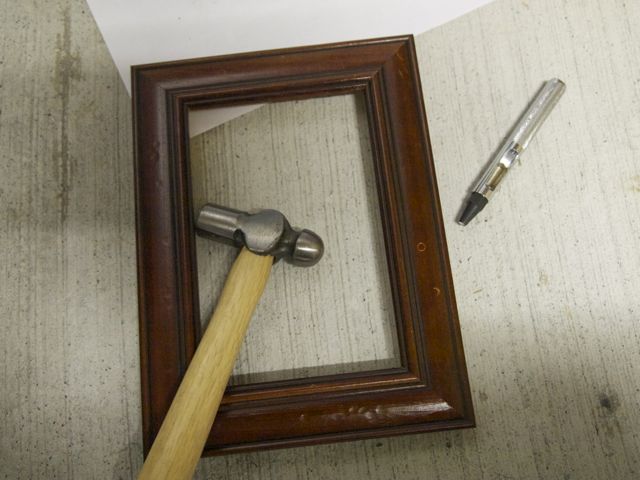
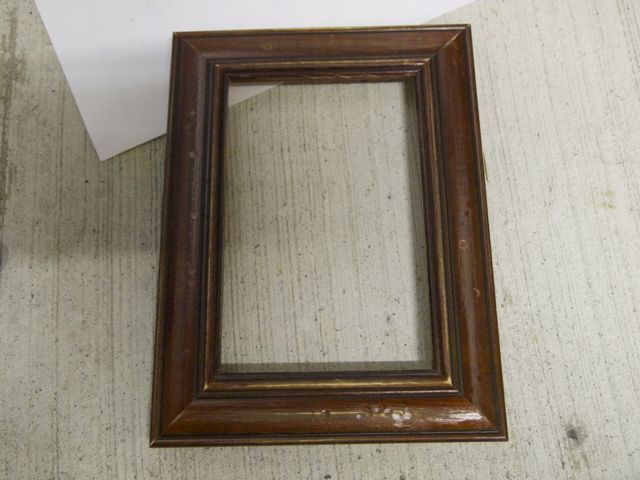
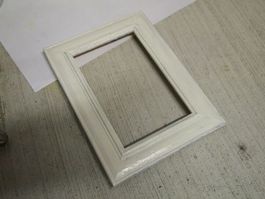
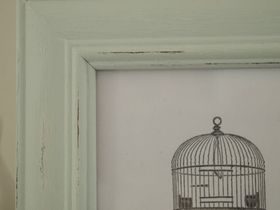
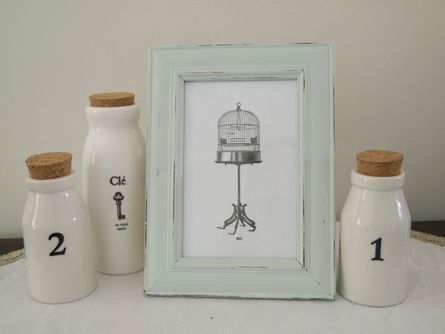
I just love all the shabby stuff that is floating around the internet these days and the great thing about shabby is you can pretty easily do it yourself. With just a few supplies (which you may already own) you can transform a store bought wooden frame from You need a frame, sandpaper, paint (I used two colours of water-based interior house paint) and a few tools of your choice. First step is to remove the glass and backing. You're going to distress it and you don't want your glass breaking or even worse causing injury to yourself. Take a hammer or screwdriver or both (or other) and give it a bit of a whack in a few places. I used a craft hammer and also my eyelet hole punching tool which left some cool little circle marks but you could really use whatever you have handy. (The distressing marks weren't hugely noticeable on the finished product because the paint I used was quite thick so I'd probably give it a little more next time). You could always leave out the distressing step if you want to. Then give it a light sand - you don't want the lovely stain colour to come off, just make it a little rough to help the paint stick. Next paint on your first layer of paint and leave to dry. I used a paler colour first but you could just use the same colour for both layers.
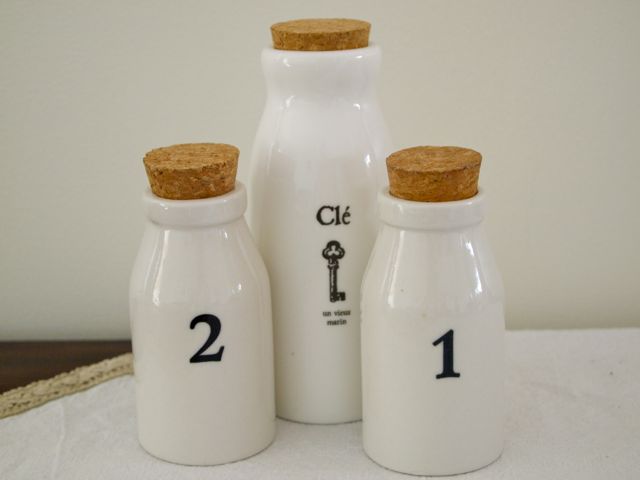
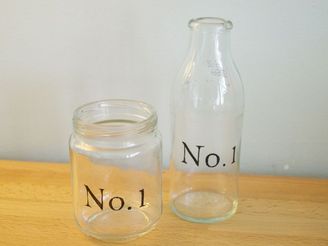
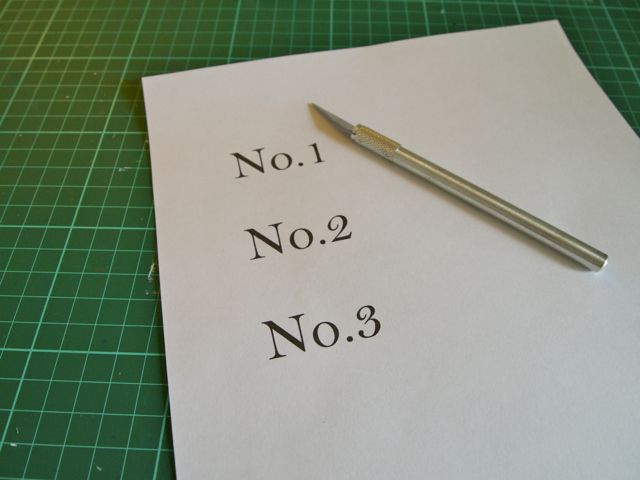
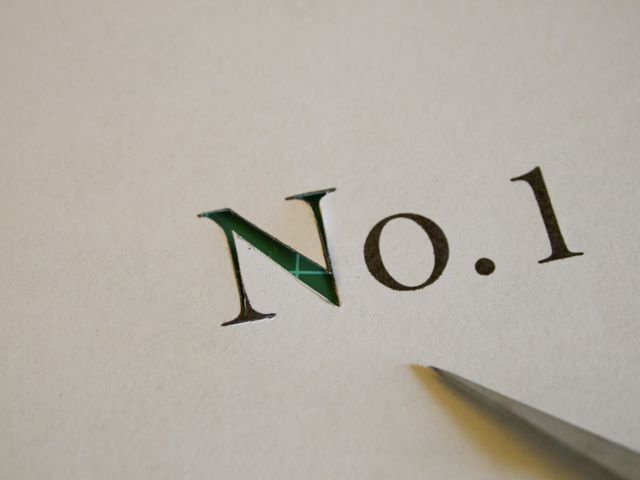
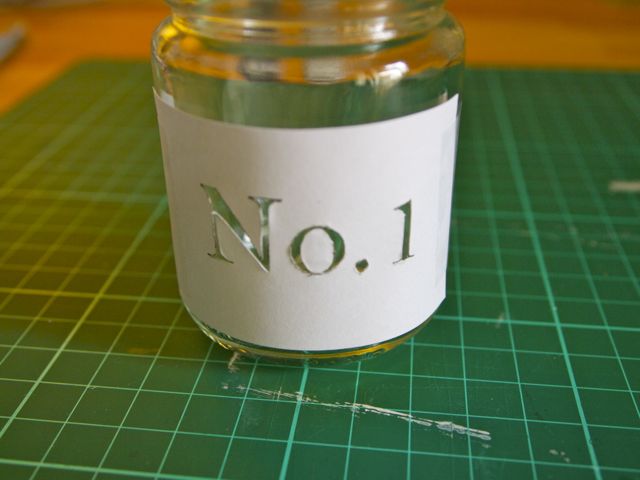
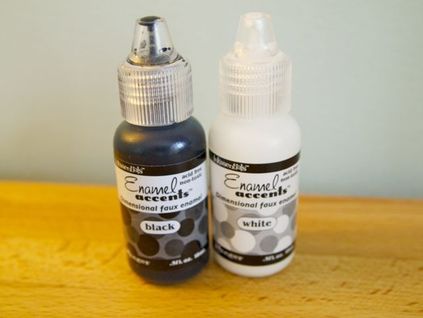
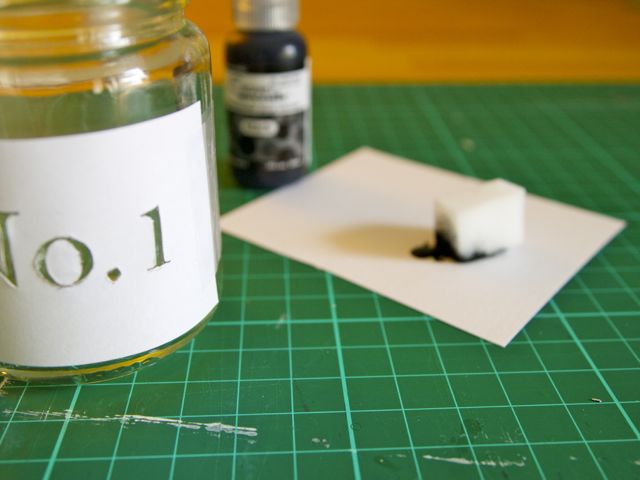
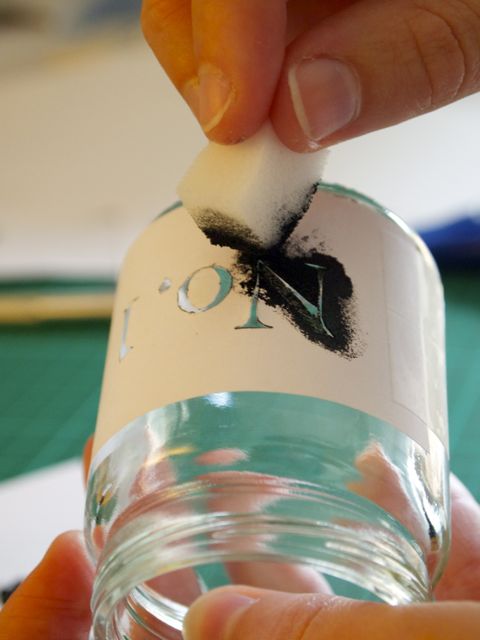
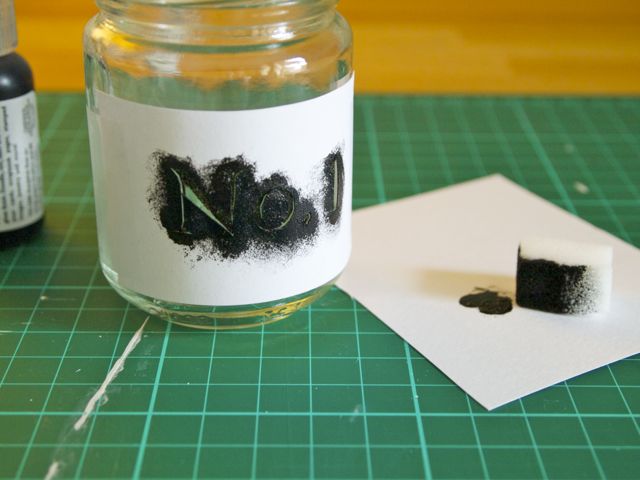
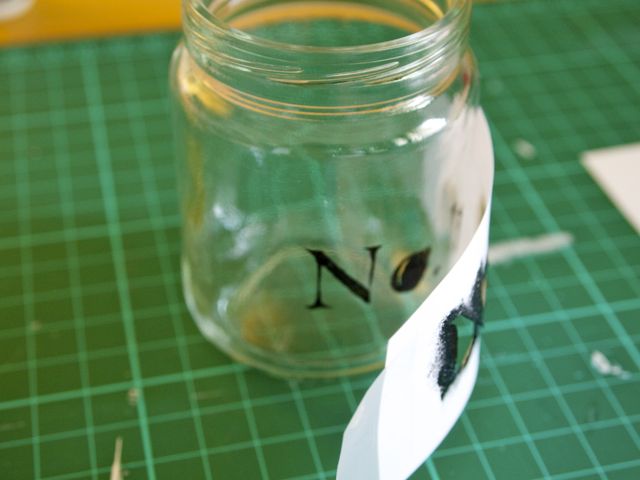
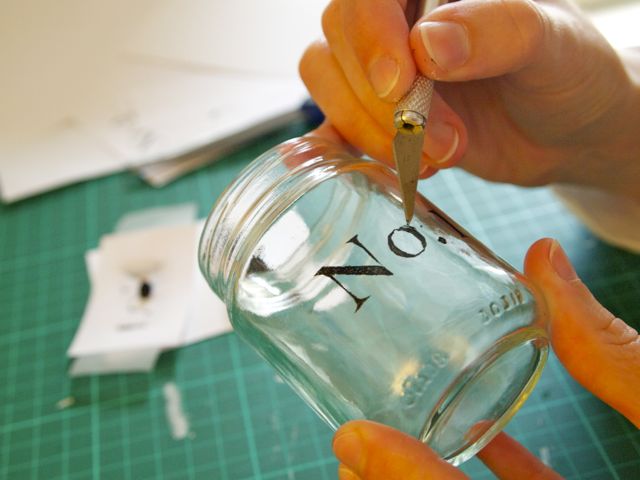
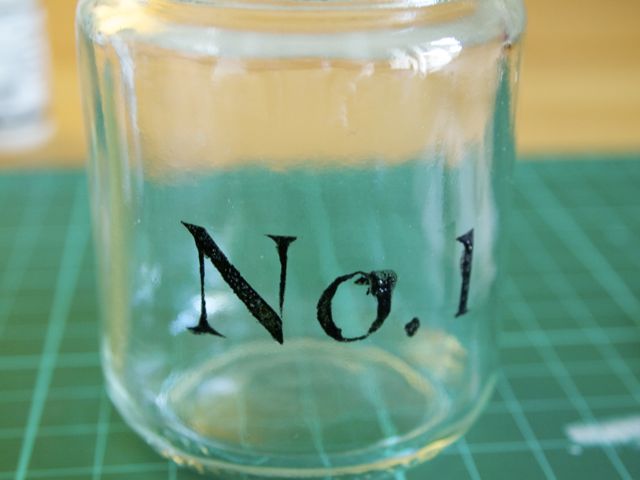
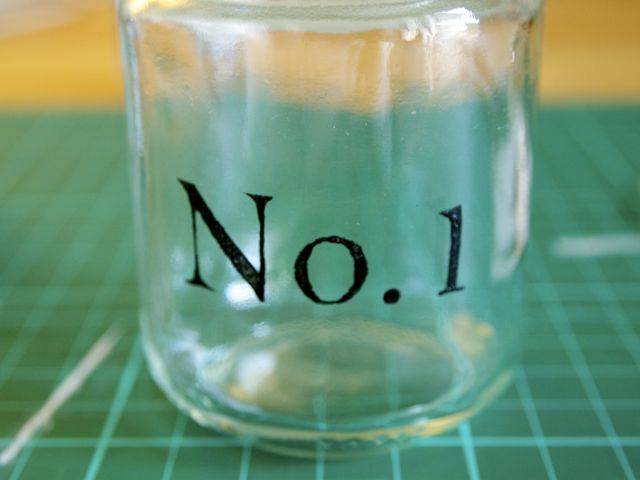
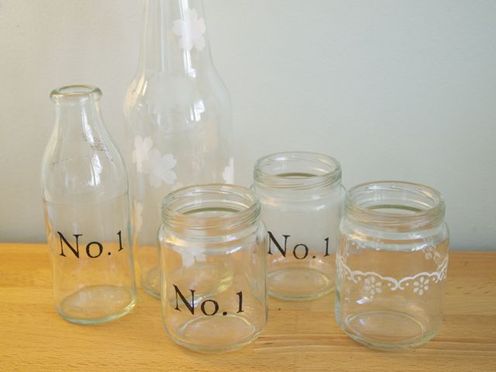
Inspired by these cute bottles I bought in Beijing, I came up with something to do with the jars and bottles I've been hoarding on my desk. Here's how to do it. Print out a simple design - I typed mine with a font called Bell MT, size 100. Carefully cut the black part out of your paper with a craft knife on a cutting matt, leaving you with a template. Alternatively, you can use a craft punch to make templates without having to cut them yourself. Trim the template and tape it to your clean jar or bottle. Remember you'll also have to stick in the 'inside' of the 'o' if you choose the pattern I did. For the next part I used a product called Enamel Accents which cost me about $9 for a pack of black and white enamel. You also need a fine sponge - makeup sponge would be fine but I didn't have one so I cut a piece of magic eraser. Put a spot of enamel (very small amount as enamel will dry quickly) on a scrap of cardboard, dab your sponge in and then dab it on the scrap so it isn't a thick blob, you just need a little. Then dab your sponge over the template - don't wipe, only dab! If you wipe, or if there is too much ink on the sponge it'll bleed under the template. If this happens you do have a chance to fix it when it's dry so don't panic. Leave the template for a few minutes until the enamel is dry (resist the temptation to peek or you might smudge it). You might even want to sponge it again with more enamel to ensure a darker pattern. When dry, carefully pull back the paper. If your design is not quite perfect you can carefully scratch away any mistakes with your craft knife and fill in any holes with enamel using a toothpick. If you're completely unhappy with it, just scratch it off and go again. Once you've done one you won't want to stop! You may be able to use your template more than once so don't throw it out!
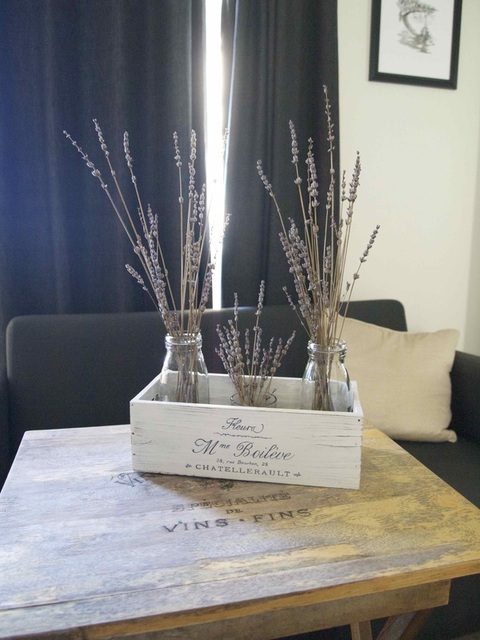
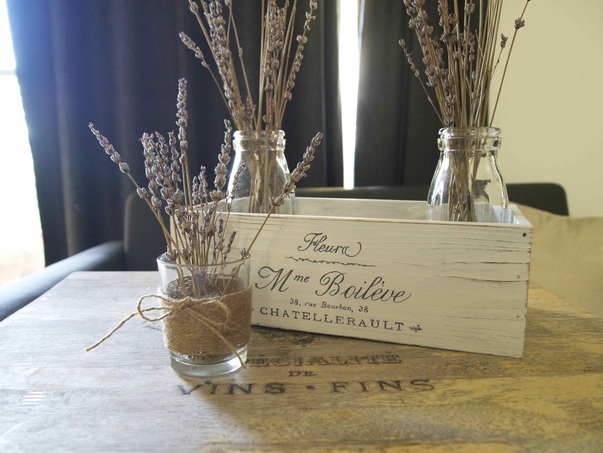
I forgot to take a before shot when I did this but basically it was just a brown stained wooden box. I sanded it and then gave it a few coats of the house paint we used on our walls. I tried doing the baking paper transfer method that I used on the table (see previous post) but unfortunately the ink didn't stick to the oil based paint and I could only just make out the design. I got a black pen and went over the lines - a lot of it was guesswork. Then I got the old sandpaper again and roughed it up. Voilà! What do you think? Btw, image is from the Graphics Fairy (I love her). Oh, I also glued the gardener's twine to the candle holder that I picked up for $1!
|
 RSS Feed