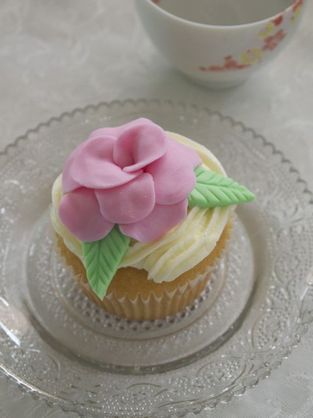
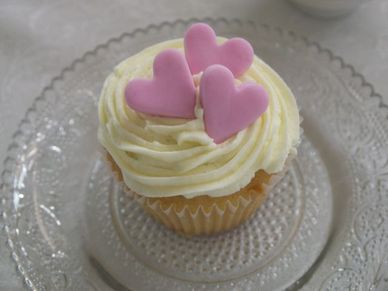
Katy suggested we have a Tea Party for Mother's Day this year. I was thinking I could make cupcakes with fondant flowers but I wanted to experiment first and see how they turned out.
First of all I made a flower with rounded petals.
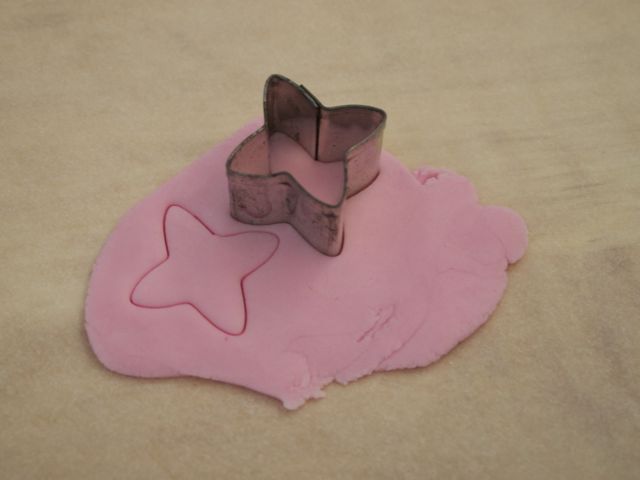
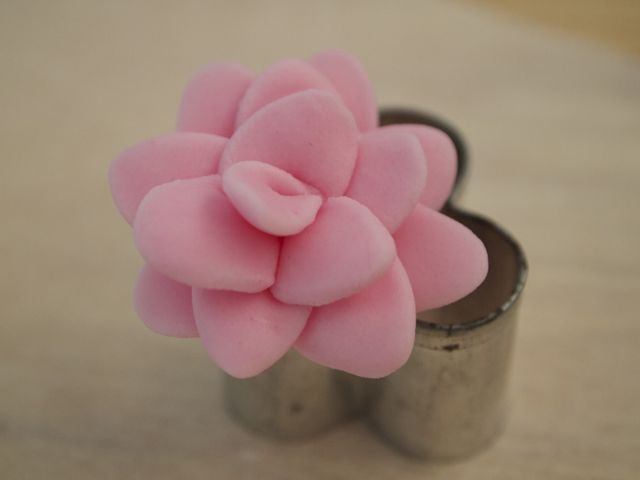
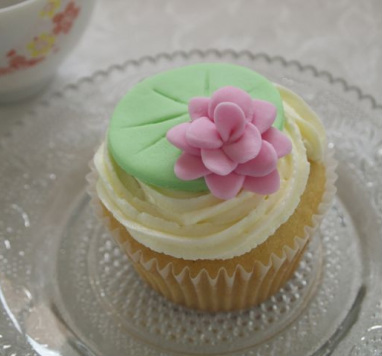
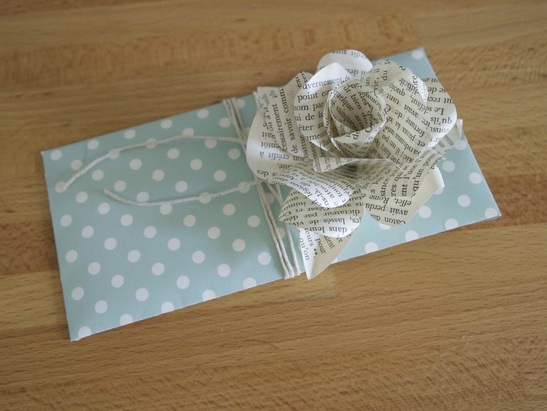
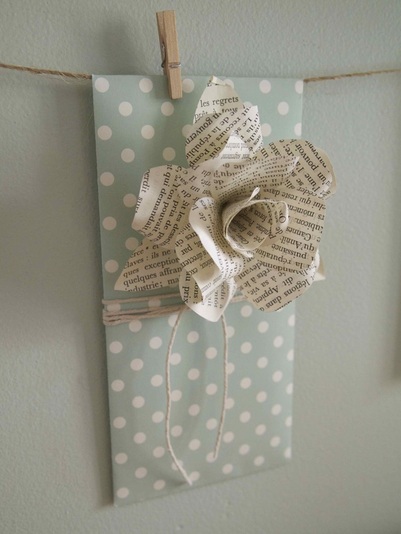
Then I used a cookie cutter to make these pointier petals. I like this one better and when Ben suggested they looked like lotus blossoms I decided to make a lotus leaf for it to sit on.
When I got sick of making flowers I rolled out the remaining pink fondant and used a heart shape cookie cutter to make these.
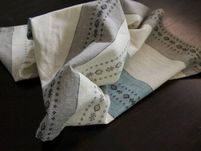
I have a love-hate relationship with my sewing machine and sometimes we just don't get along. Today it really tested my limits but in the end I won.
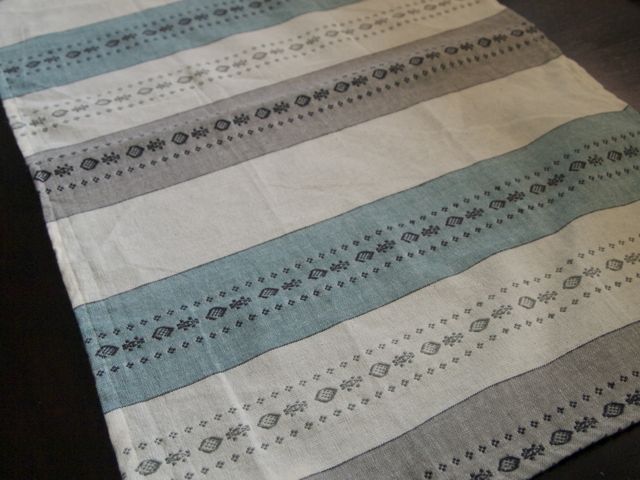
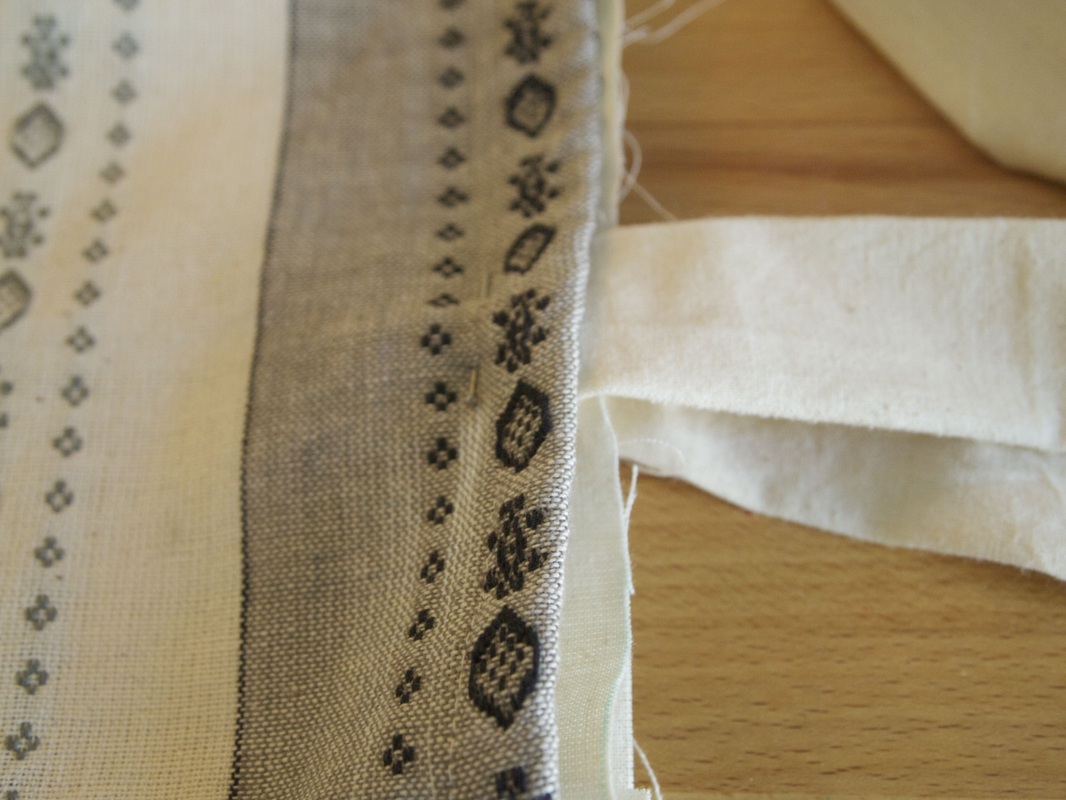
This is a $2 tea towel I found in the bargain bin at Pillow Talk. I really liked the colours and the patterns and I was determined to make it into something cool.
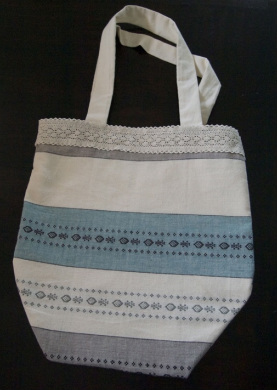
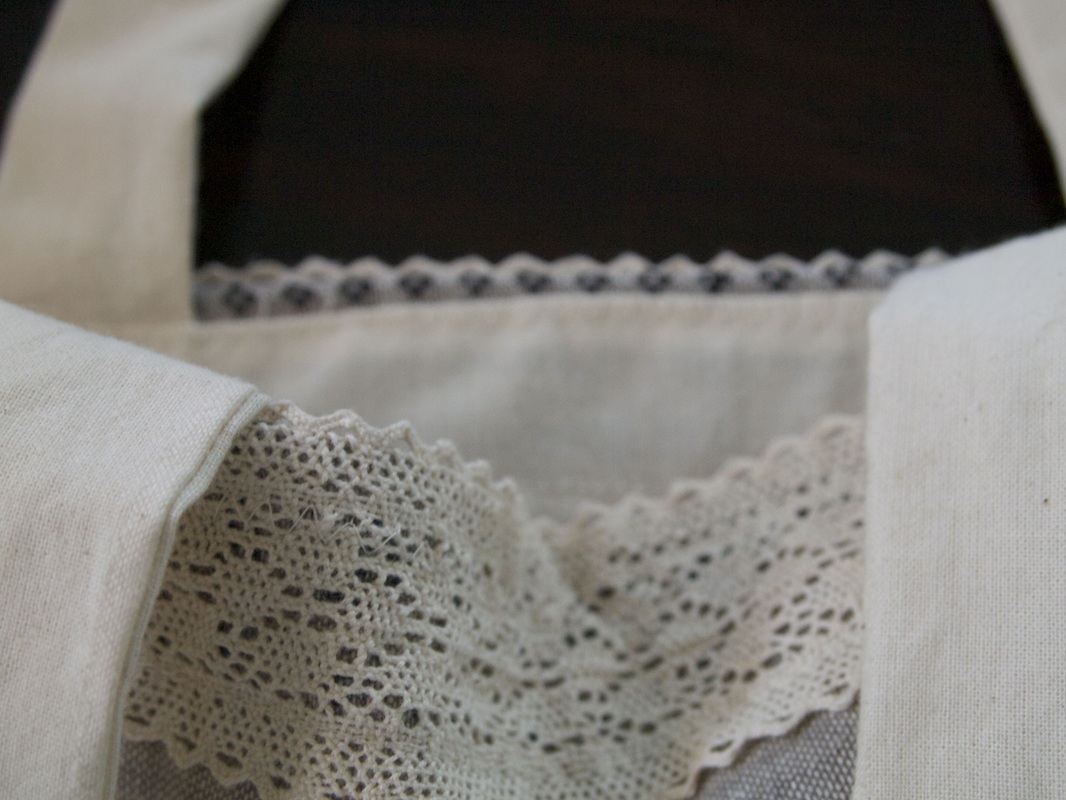
I made the straps from my stash of calico and even went so far as to line it. I sewed some lace around the top which was awesome because I knew where I secured the straps onto the bag would be completely covered.
In the end this turned out better than anything I thought I could have done and all without any instructions or tutorials!
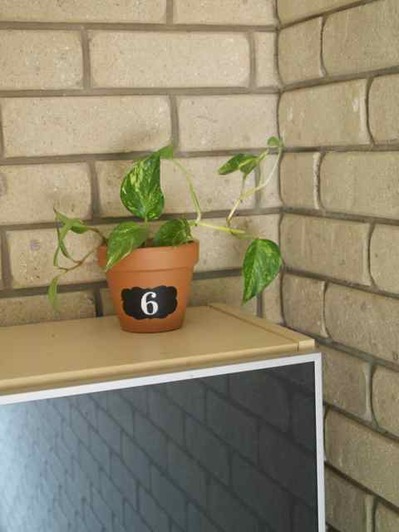
The number on the door to our apartment has been missing for a long time and when I wanted to paint something on this terracotta pot it was the perfect solution. I found a shape that I liked for the black and printed it on paper, cut out the inside so it was like a template, then taped it to the pot and carefully filled in the black. When it was dry I painted the 6 in white. It sits on the cupboard at the top of the stairs outside our apartment door.
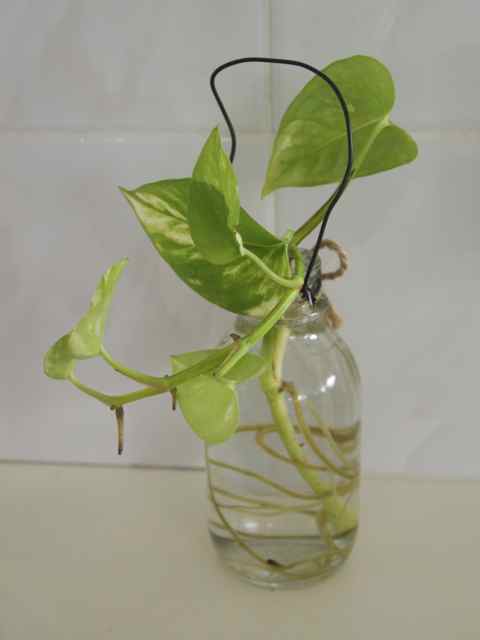
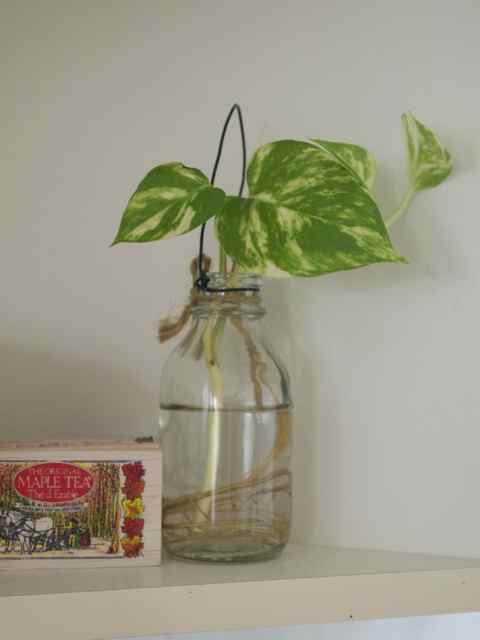
When I was in China, I kept seeing plants grown in water. I think they look so cool. Anyway, turns out most indoor plants can live like this and they are very, very easy to look after. I even found out that my mum has had a vase of indoor plants that have been in water for about 3 years and are still growing strong. I nabbed some cuttings of them last time I visited and now I keep a stock of plants in a vase.
When you want to make a new plant, you can just cut a section off and plonk it in a vase or jar of water. After a few weeks it will sprout roots, but best of all, you only need to top up the water every month or so, and because there's no dirt it's not messy. I have them on every window sill in the house, and they also make great gifts.
So you know the plant in the pot at the beginning of this post. Guess what? Hidden inside the pot is a jar of water!
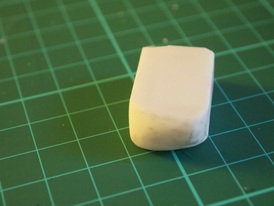
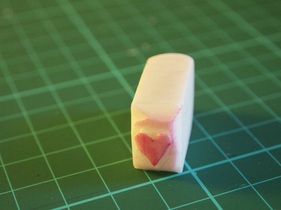
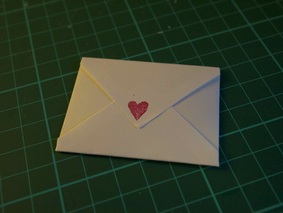
Here's how to make a stamp. Get an old eraser, cut off the end with a craft knife, make it as flat as you can but it doesn't need to be perfect. Draw a simple shape on the flat surface. Cut into the eraser around your design and then cut in from the side to reach your first cuts. Stamp!
I like that it has a textured look. Might have to make another one for the other side of the eraser!
I've been wanting to make macarons for a while but I always thought they'd be really hard. So when I saw a Donna Hay packet mix I knew I had to have a go! Next time I will try making them from scratch.
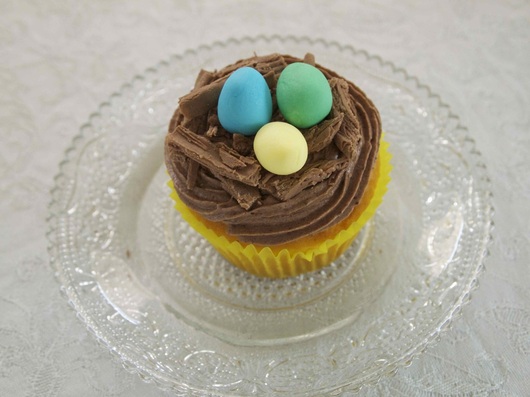
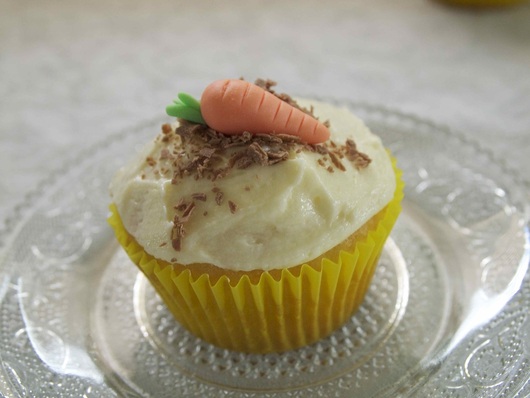
As Easter has passed and will soon be out of season, I'd like to put up these pics of my Easter Cupcakes that I made for our Easter gathering with my husband's family. Inspired by a combination of cookbooks and pics on the web, I used buttercream icing and made the decorations with fondant. My first attempt with fondant, in fact!


 RSS Feed